
I can’t express how excited I am to share this project with you guys. Mostly because of how awesome they turned out but also a because that means this project is done…. haha! This was a doozey, guys. Probably, the most labor intensive DIY project we’ve done to date but also my favorite.
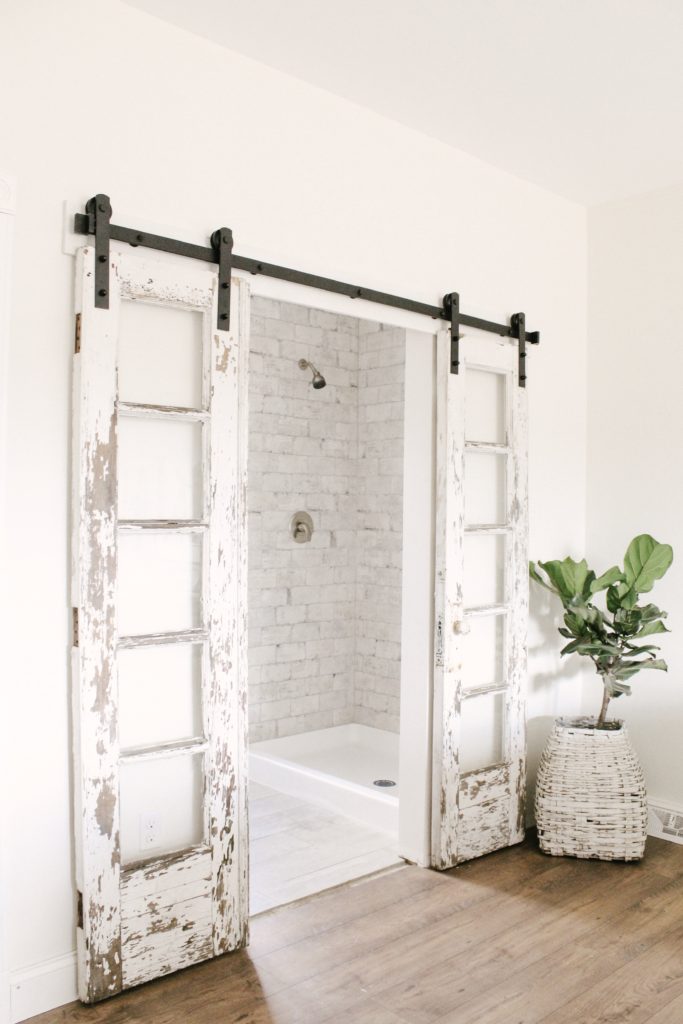
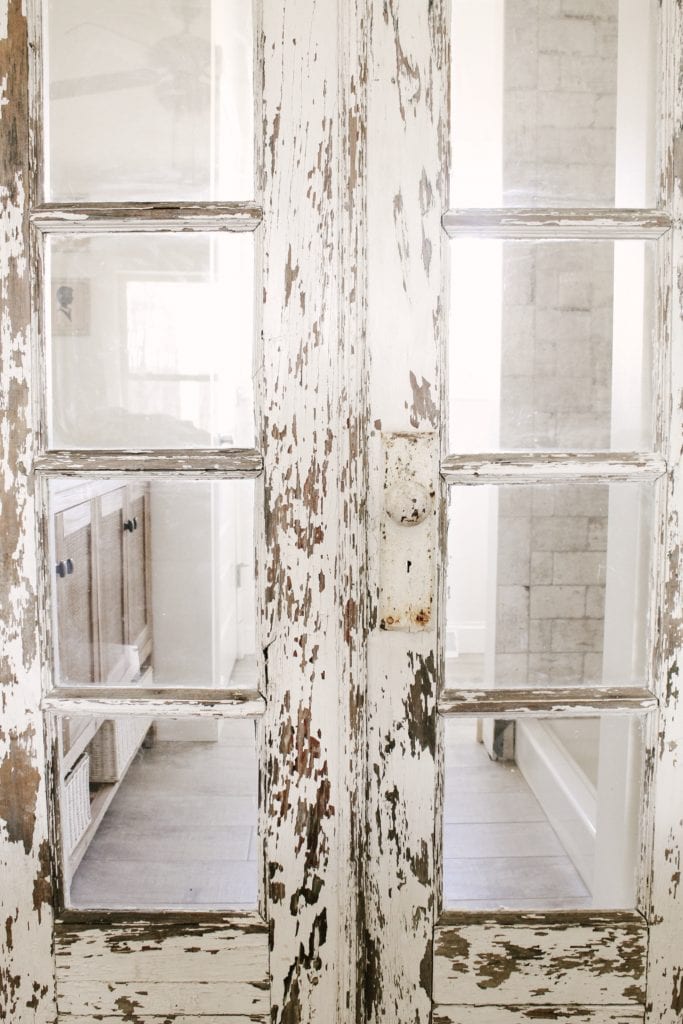
When we were having our house built, I knew I wanted to have a sliding door in our master bedroom leading into our bathroom. Since I had this vision early on, we went ahead and told our contractor to omit the typical door/door jam in this particular spot. Since we’ve moved in, we’ve just lived without door to our bathroom because we had projects that were a bit higher on our priority list and I couldn’t find a door I loved enough to halt all other projects. Until, I saw these.
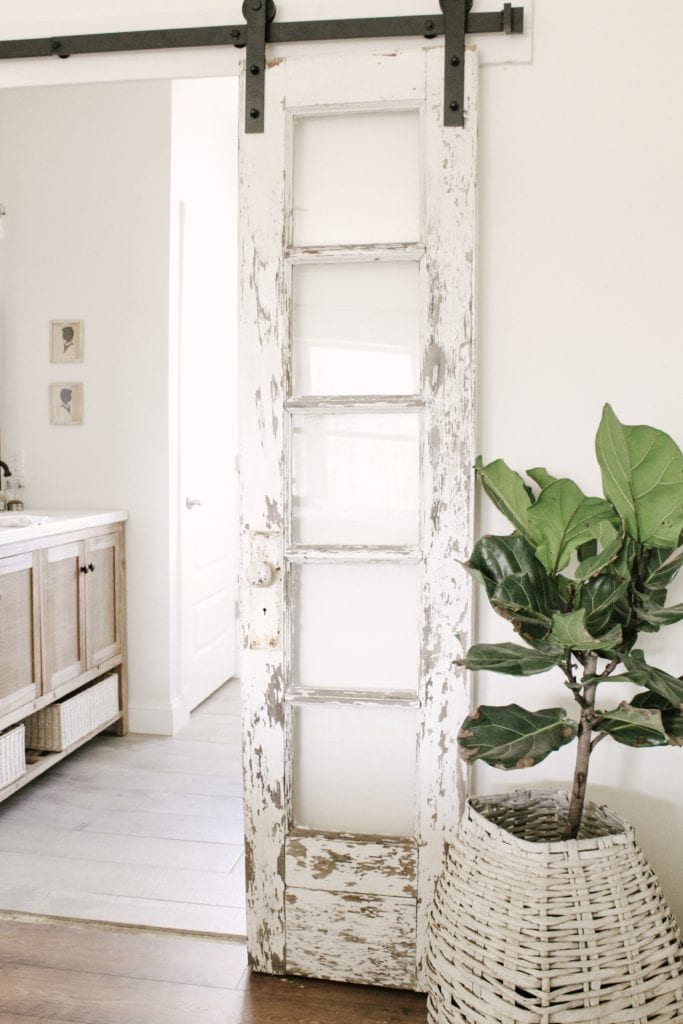
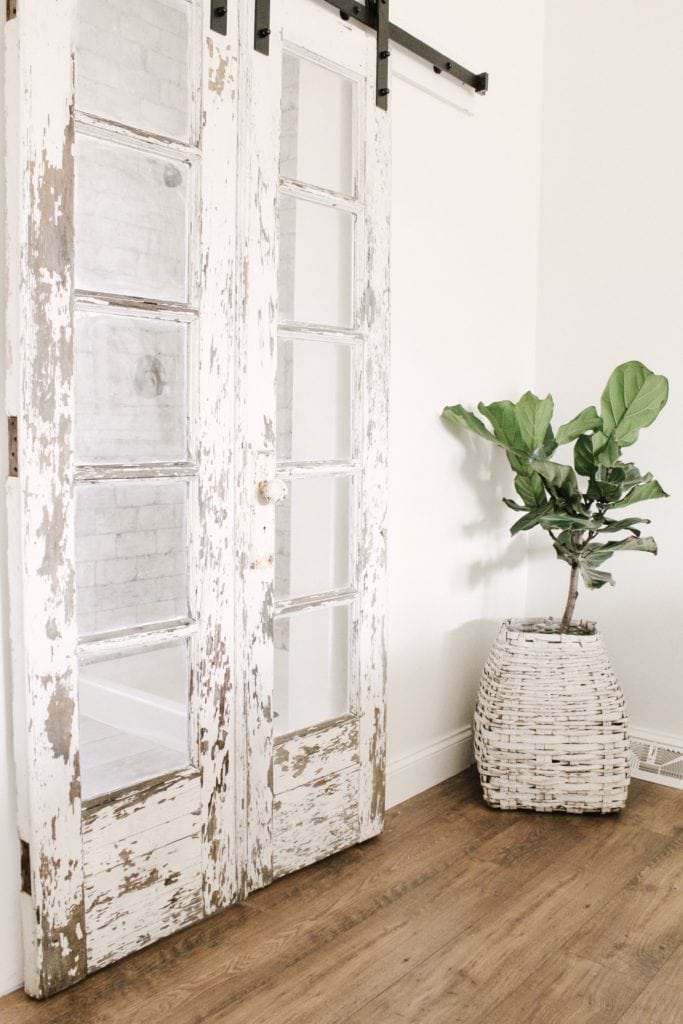
These old chippy antique french doors were listed on Facebook Marketplace for a steal and I just knew I had to have them. When we brought them home we quickly realized how much shorter the doors were than our frame. We were convinced that these doors just weren’t going to work in this spot. But here’s the thing about me: I’m relentless, stubborn and if I want something….I will find a way to make it work. It’s a blessing and a curse 🤪
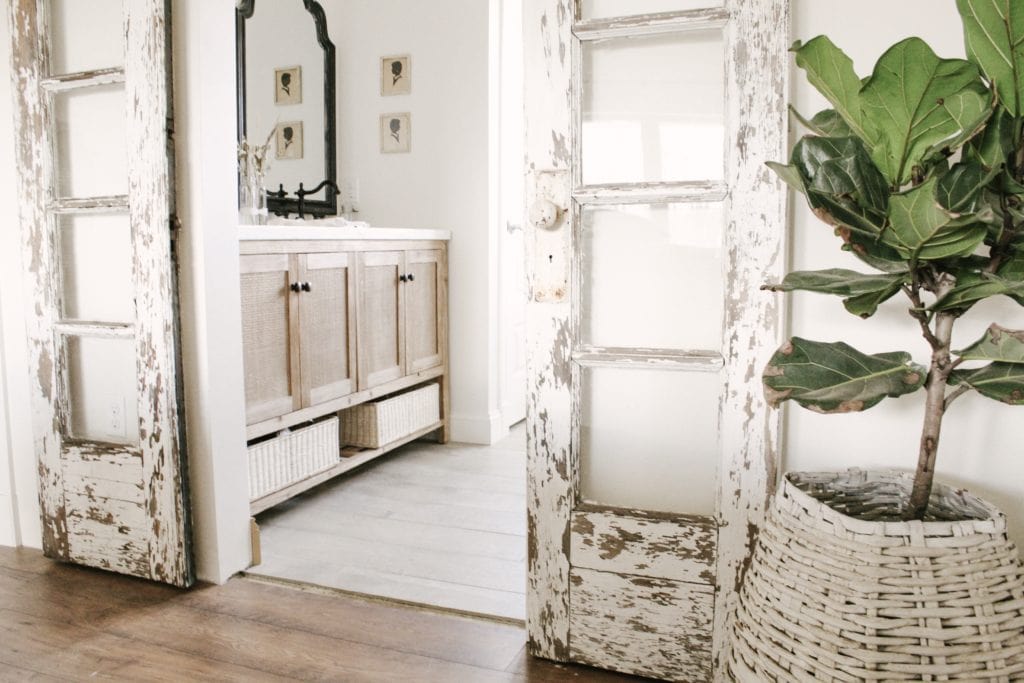
I started racking my brain for how to get these doors hung here without having a huge gap at the top of the door frame and/or the bottom. After hours of math, equations and discussions with Eli we came up with an idea that we were hoping would work! We bought a 2×6 and cut it to the length of our doorway. We mounted that to the top of the existing frame to drop down the height 2 inches (width of wood). We added an the illusion of a shorter frame and that made all of the difference!
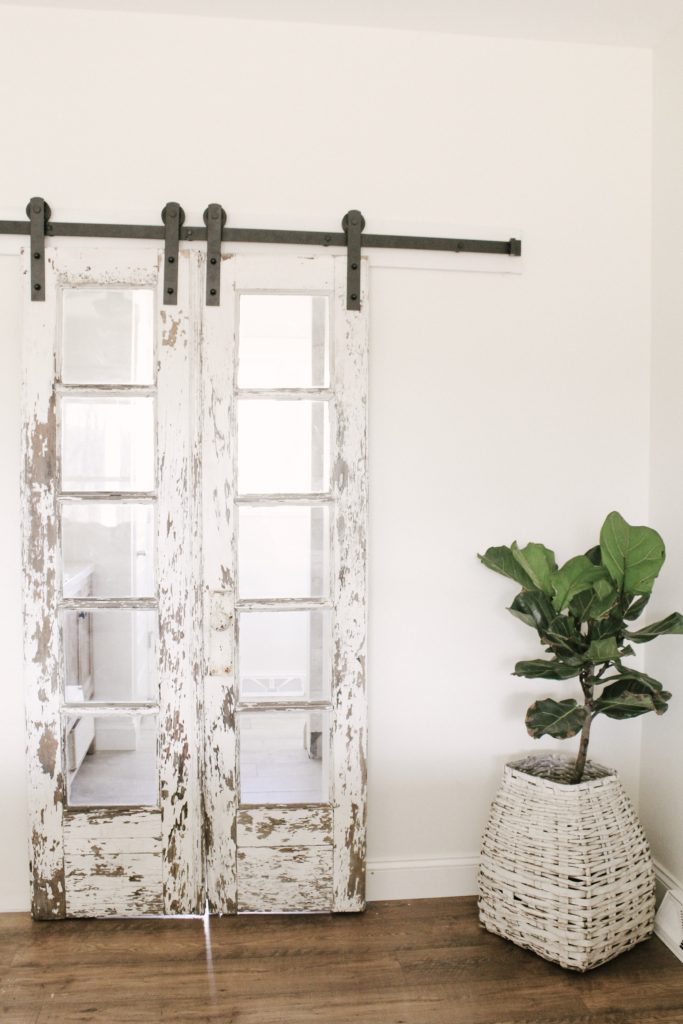
We went ahead and mounted a 1×6 header to the top of the new door frame being sure to mount the wood using screws to our wall studs. At this point, we attached this sliding barn door kit I got from Amazon to the 1×6 header piece.
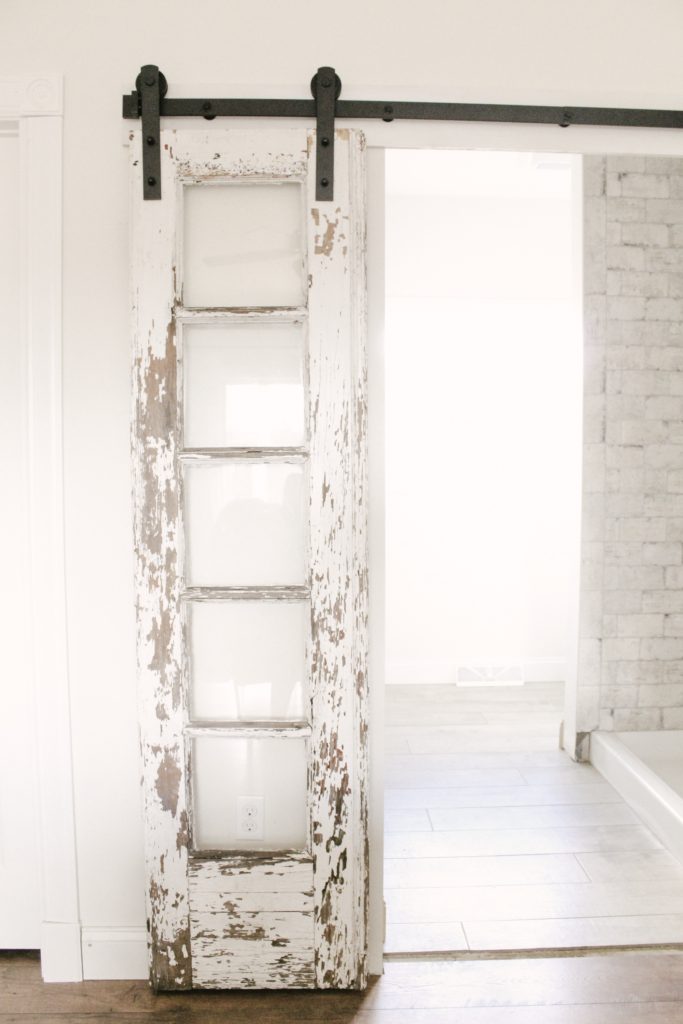
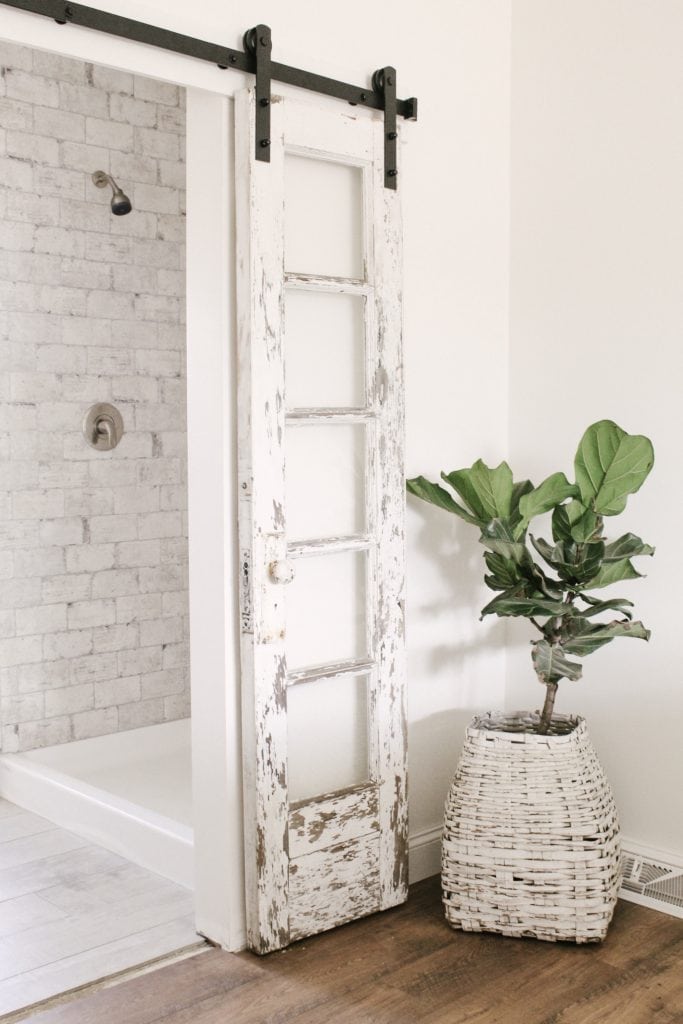
You probably thought that the hard part was behind us, right? Nope. The hardest part of this project was getting each of the four pieces that attach to the door (the hardware with the “wheel”) to hang straight. Now this part would have been a cake-walk if we had used a newly built door but in typical-Sarah fashion I just had to have the authentic salvaged chippy ones.
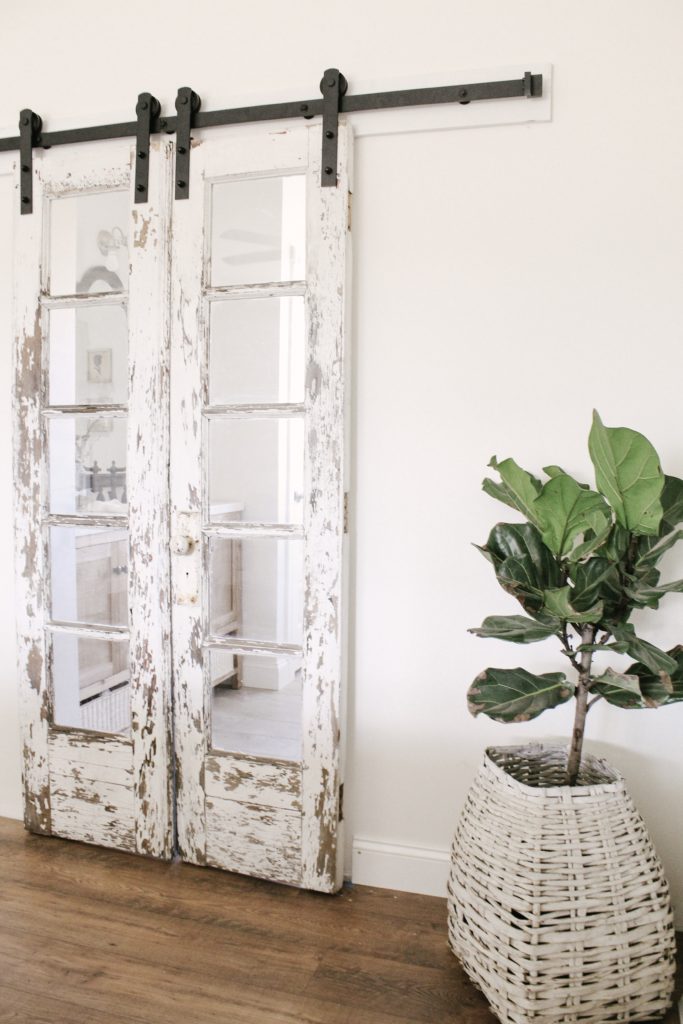
The problem was that since the doors are clearly old as dirt and weathered they weren’t even close to being straight. We had to finagle with measurements so that the doors would hang completely vertically and meet up when closed. I guess using two doors didn’t help make this project any easier, either.
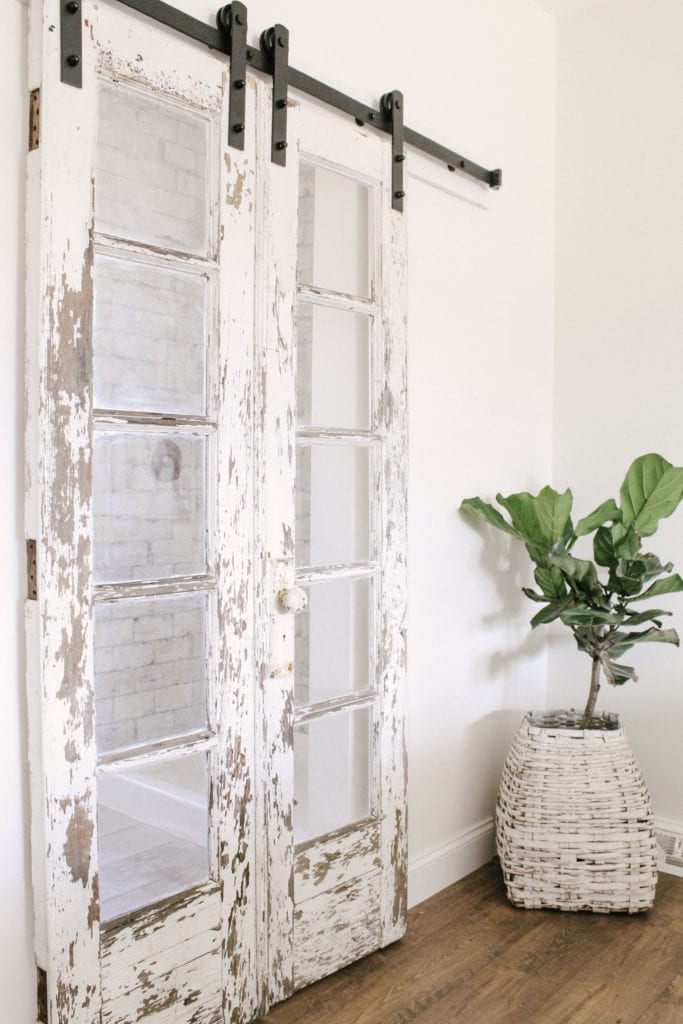
After about nine hours (yes, nine hours) of drilling, hanging, sawdust-flying and maybe a few swear words (just keeping it real)….we finished!! I’m so in love with this project and how it brings another element of character to our brand-new home.
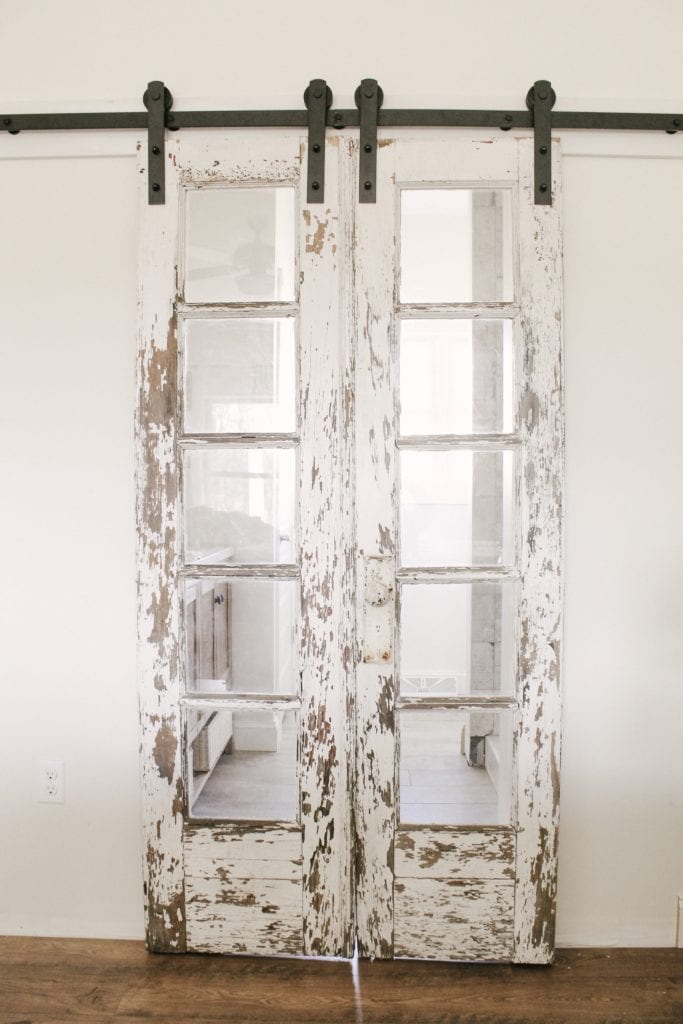
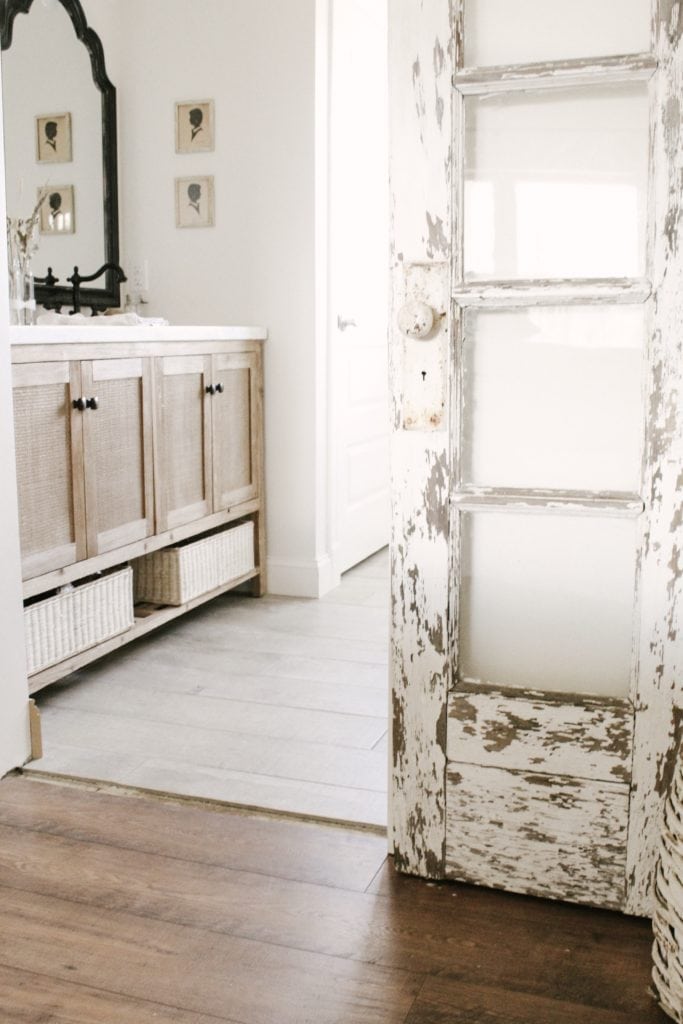
We did have to remove some hardware from the door to allow it to hang close to our wall as well as sealing the doors from chipping any further. I used a polycrylic (here) to seal them so that they’re nice and smooth!
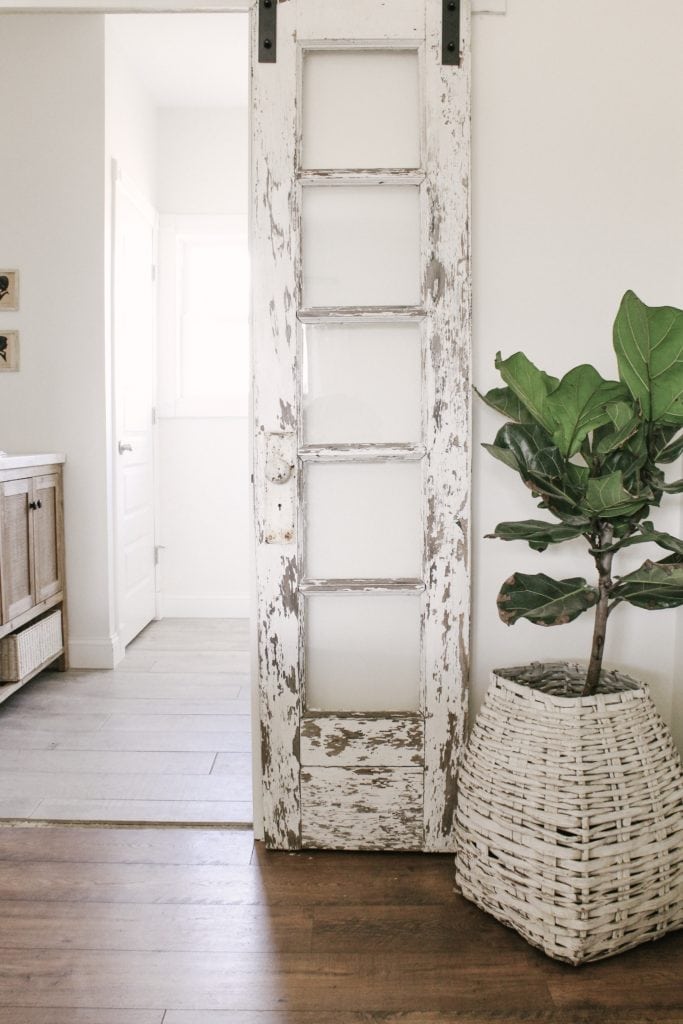
Projects like this really make me feel like we’re making progress in our home and I’m so excited that we were able to follow through with this one! A huge shoutout to my husband for smiling and nodding at any of the crazy ideas that pop into my head and making them my reality. I love you, E!
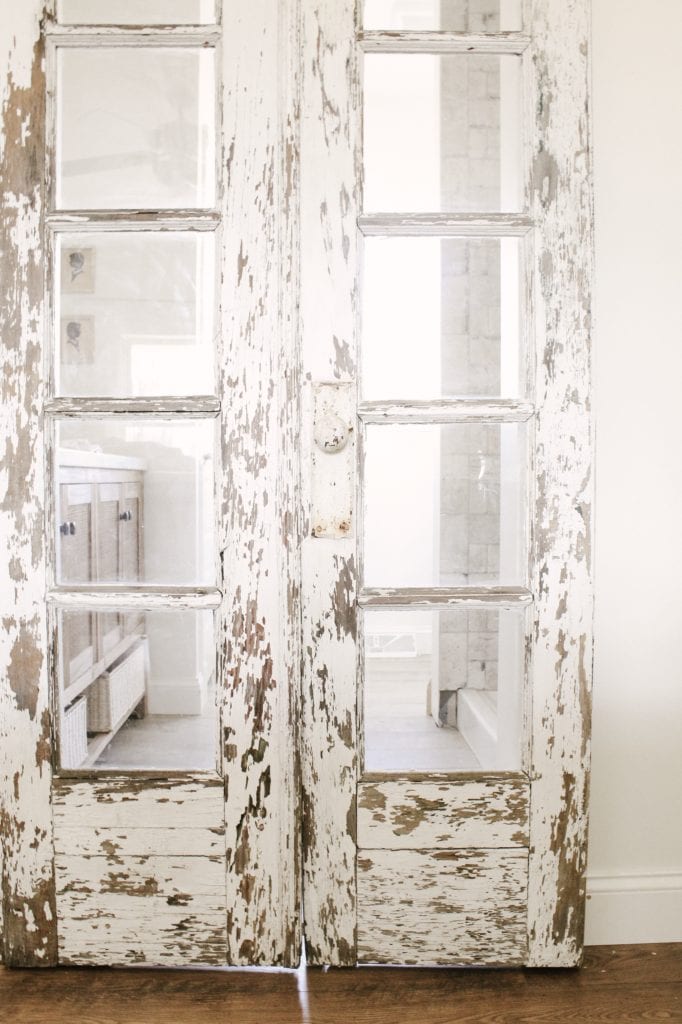
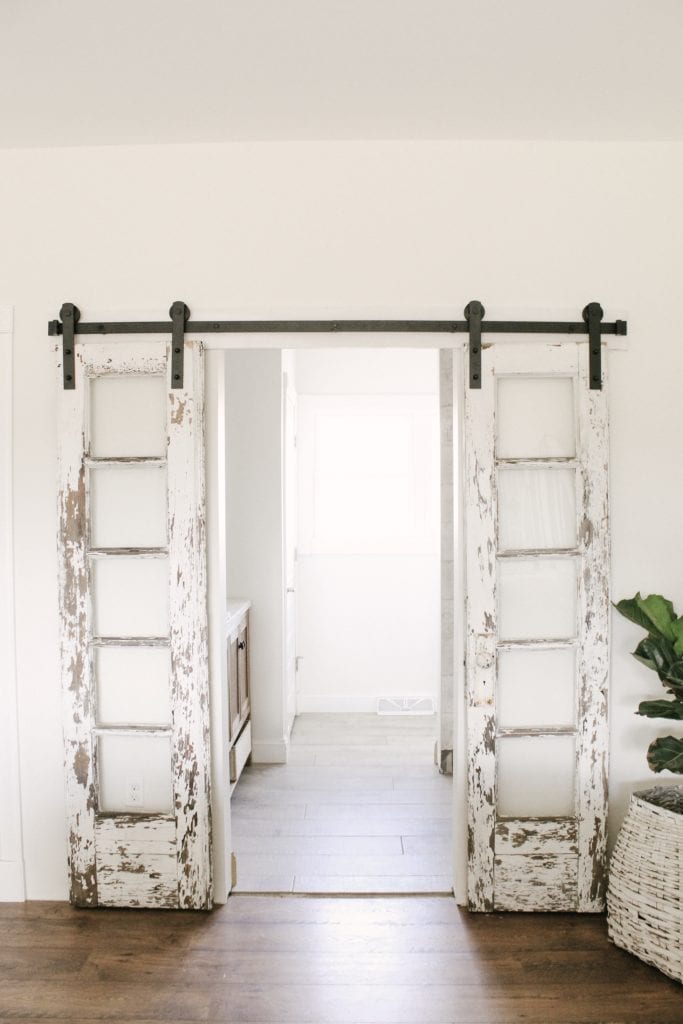
Thanks so much for checking out our most recent project! I’m so thankful to have a community of people that are into this stuff, too. How do you like them!? Comment below and let me know!
xo,
sarah jane


Absolutely awesome! Well done.
Thank you so much, Maureen!!!
I am OBSESSED. Saving all your photos for future references!
Ahhhh!!! That means the world. Thank you!
Wow!! This is so beautiful!!!!!!
Thank you SO much, Mandy!!!
SARAH!!!! They look amazing!! I squealed 😂♥️
Awww THANK YOU Libby!!! I was squealing for about three days straight….lol!!
Sarah, I’m drooooooling! These turned out perfect! I’m obsessed with it all! You and your husband did an amazing job!
Ingrid
thank you SO MUCH my friend!!! Our heads were spinning after that long day but I’m soooo excited we were able to get them to work here!
they look AMAZING sar!!!😍😍😍😍
Awww thanks kate!!! <3
Your doors look amazing! I’m beyond impressed with how perfectly they fit! Congratulations on a big project well done.
Thank you so much!!! We were worried with how they would look at the end but I think they turned out great. We are happy it is behind us though…haha!!
😲😍😍😍 great job Sarah and Eli!!! 👏🏼👏🏼👏🏼 SO WORTH IT! It looks amazing! Major jealous (in a good way!) over here!!
Love it!! And I absolutely adore your style!
Awwww, thanks Katie!!! We are SO happy with how they turned out. I so appreciate your kindness!!
They look wonderful, good solution. Do you have a picture of the opening/doors from the inside of the bathroom?
Thanks, Joan
Thank you so much Joan! I actually shared videos on what the other side of these doors look like on Instagram. I have a highlight title “antique french doors”. Hope this helps!
I love your wood flooring! What is the type and color ?
Thank you so much!! I actually have a whole blog post with the type, color, etc here https://sarahjaneinteriors.blog/main-level-laminate-flooring/
Hope this helps!
Love these doors! They are absolutely stunning!
Side note: do you know the type and name of your floors in the pictures!?!?
Hi Tasha! Thanks so much. Here is a blog post on our flooring shown in this post 🙂 Hope this helps!
https://sarahjanechristy.com/wide-plank-pergo-laminate-flooring/
I have the same doors that I took from my aunts house over 10 years ago. Thank you for the idea! I can’t wait to use them in my main bath.
Absolutely! Happy to help spark some inspiration. Best of luck on your project!