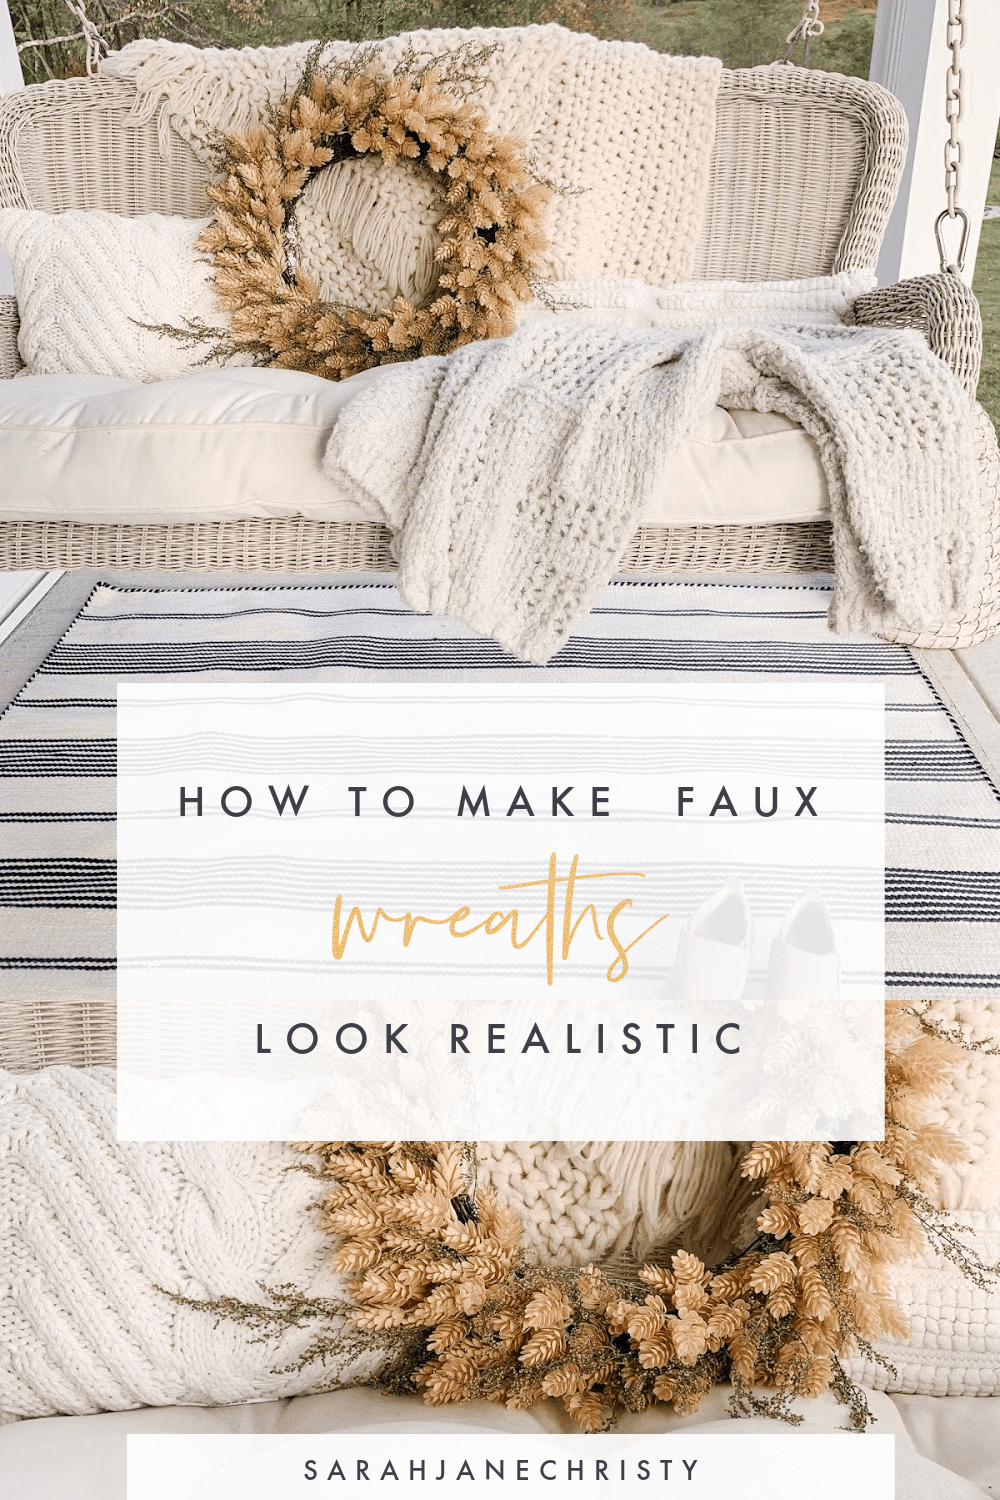
Ahhh, the age-old home decor debate: Real or faux? To be truthful, I’m typically more of a “real” supporter. I think I have a hard time finding “faux” that looks anything like the real deal so I just opt for the safe route. I thought it’d be fun for me to share how to make faux wreaths look realistic!
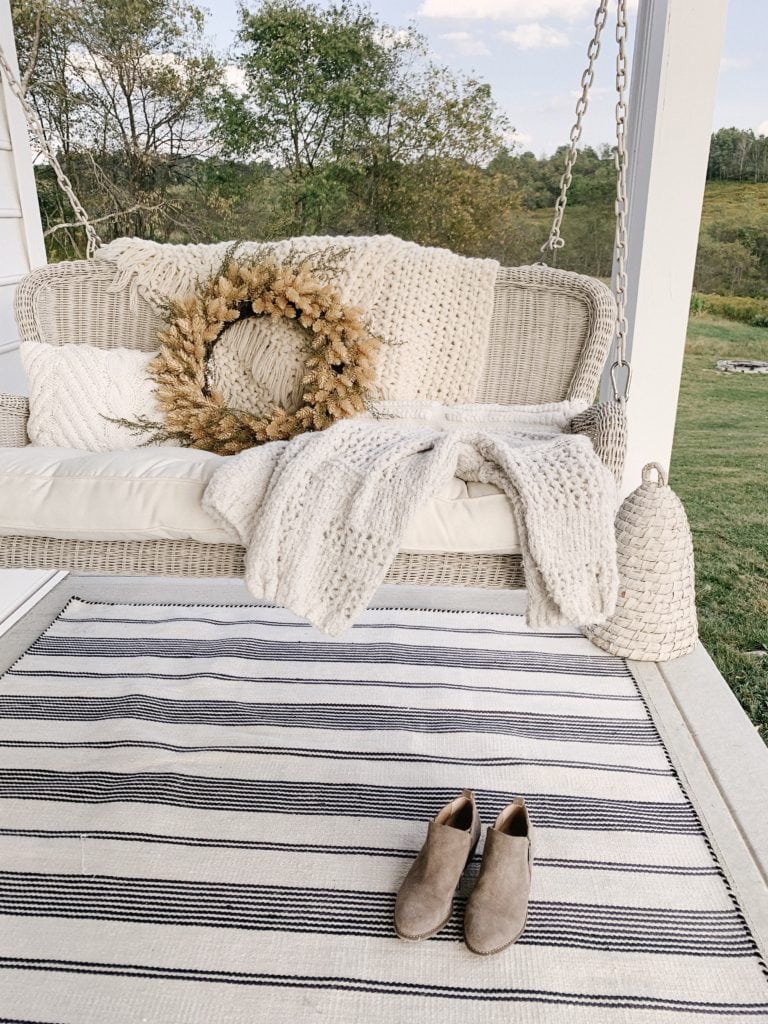
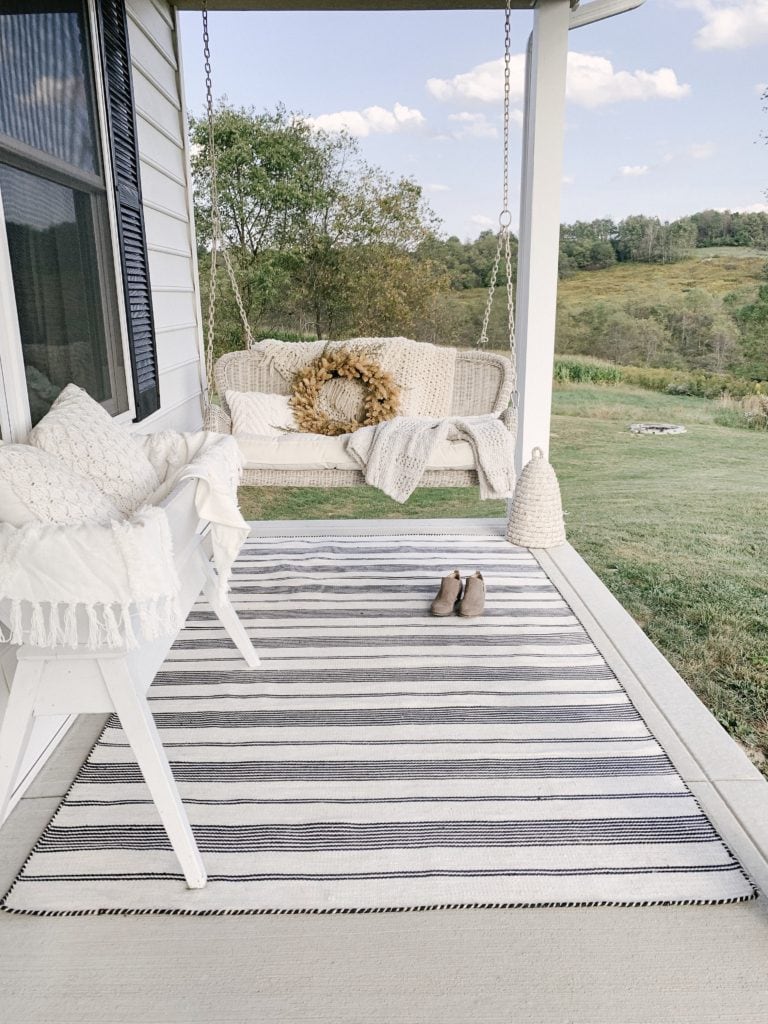
I’ve been trying to incorporate a bit more faux florals/greenery in our home decor. Let’s be honest, in the long run, it’s financially beneficial. I have quite a few faux stems that I’ve been using for years now and since they last forever, I will definitely get my money’s worth.
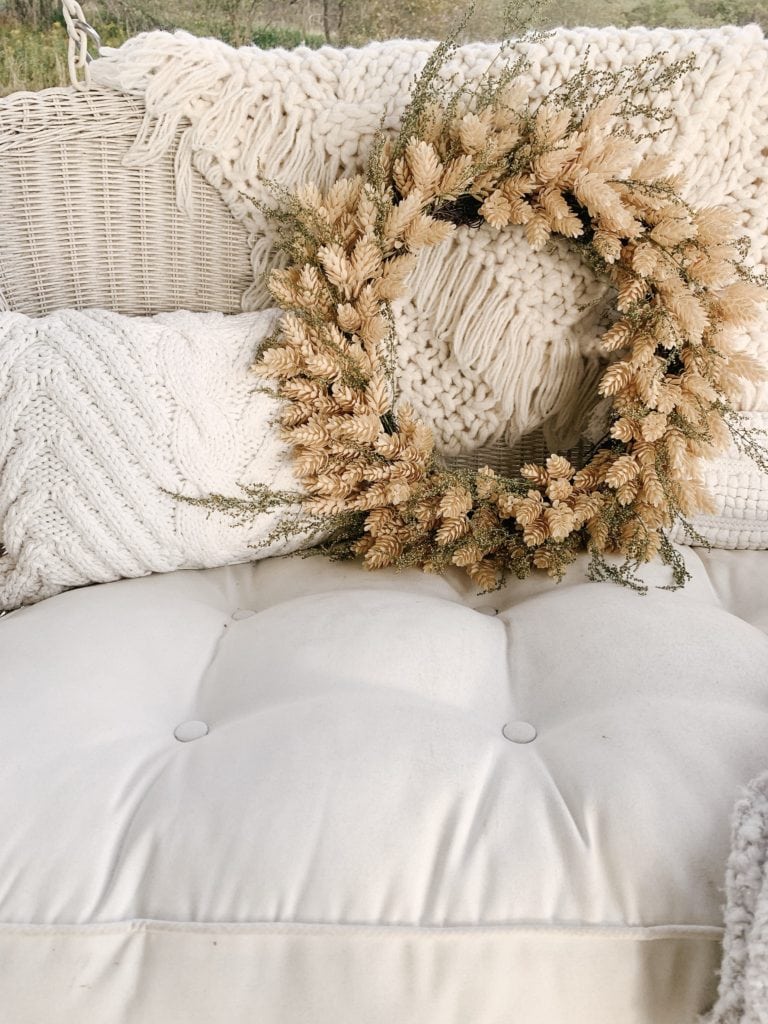
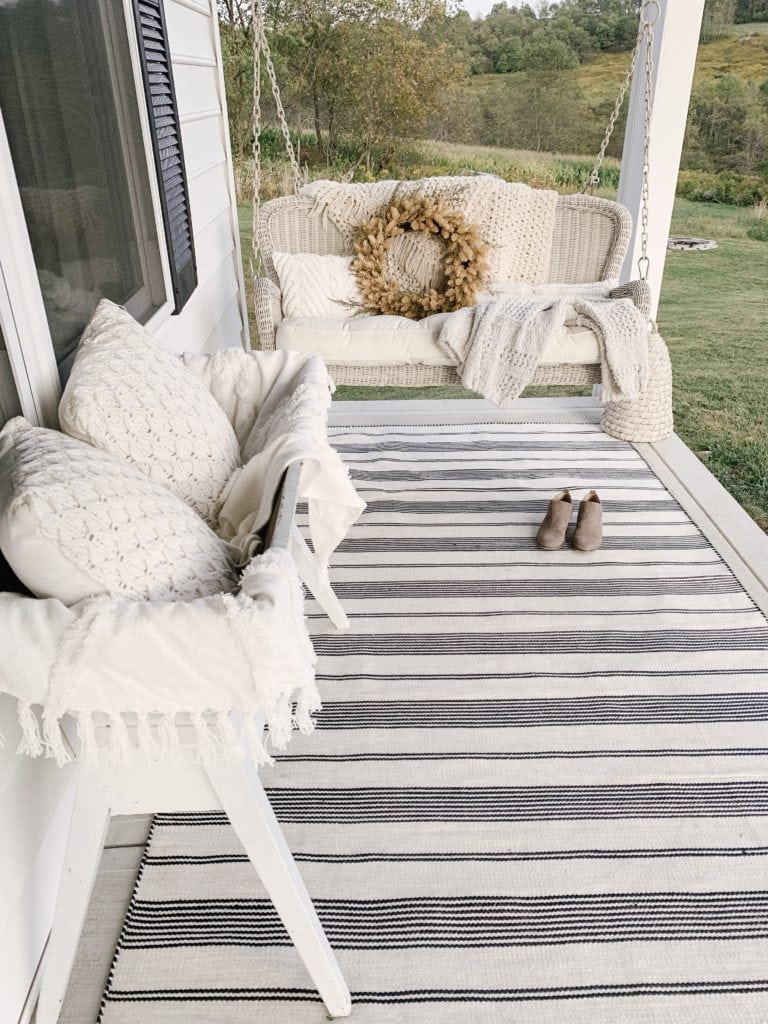
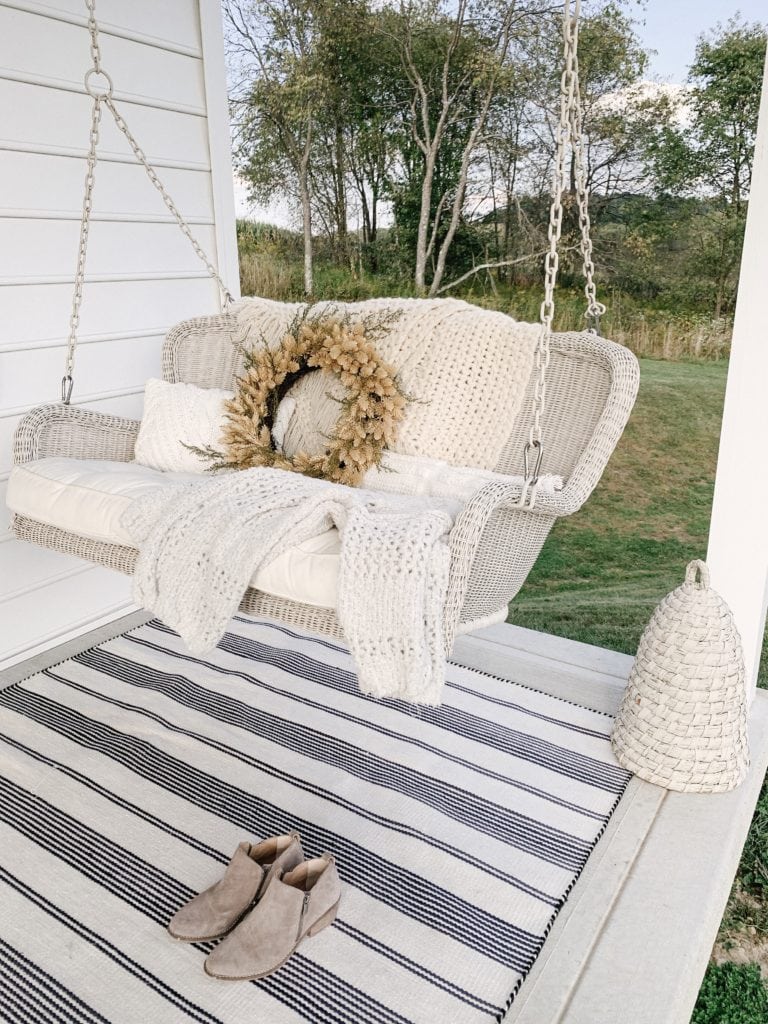
One thing that’s hard for me to replace year after year is our front door wreaths. In the past, I’ve opted for real/dried wreaths that typically last me a year before they get a little “blah” looking. This year, I was hoping to find a faux wreath that would transition well for fall and be neutral enough to use in the coming years.
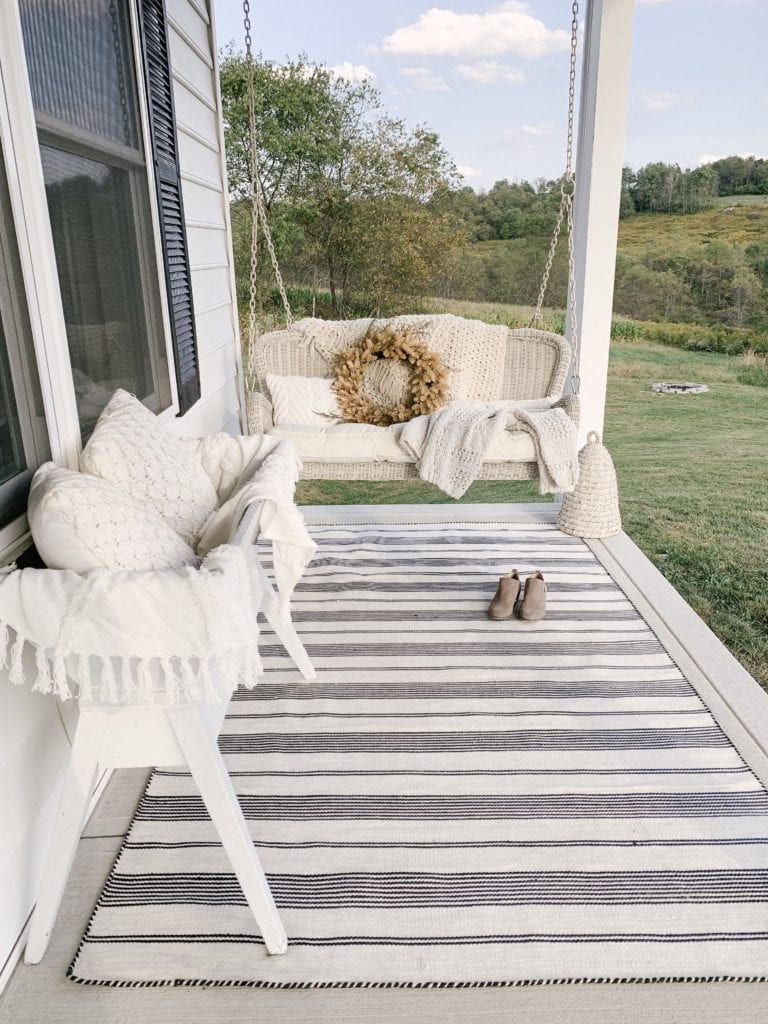
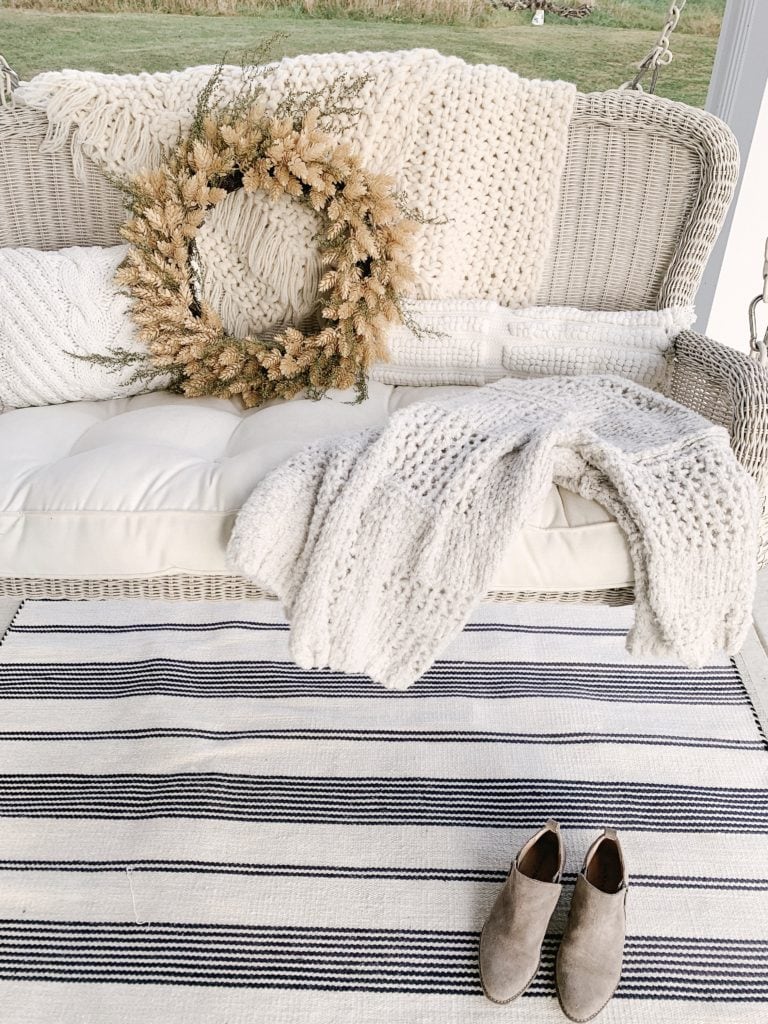
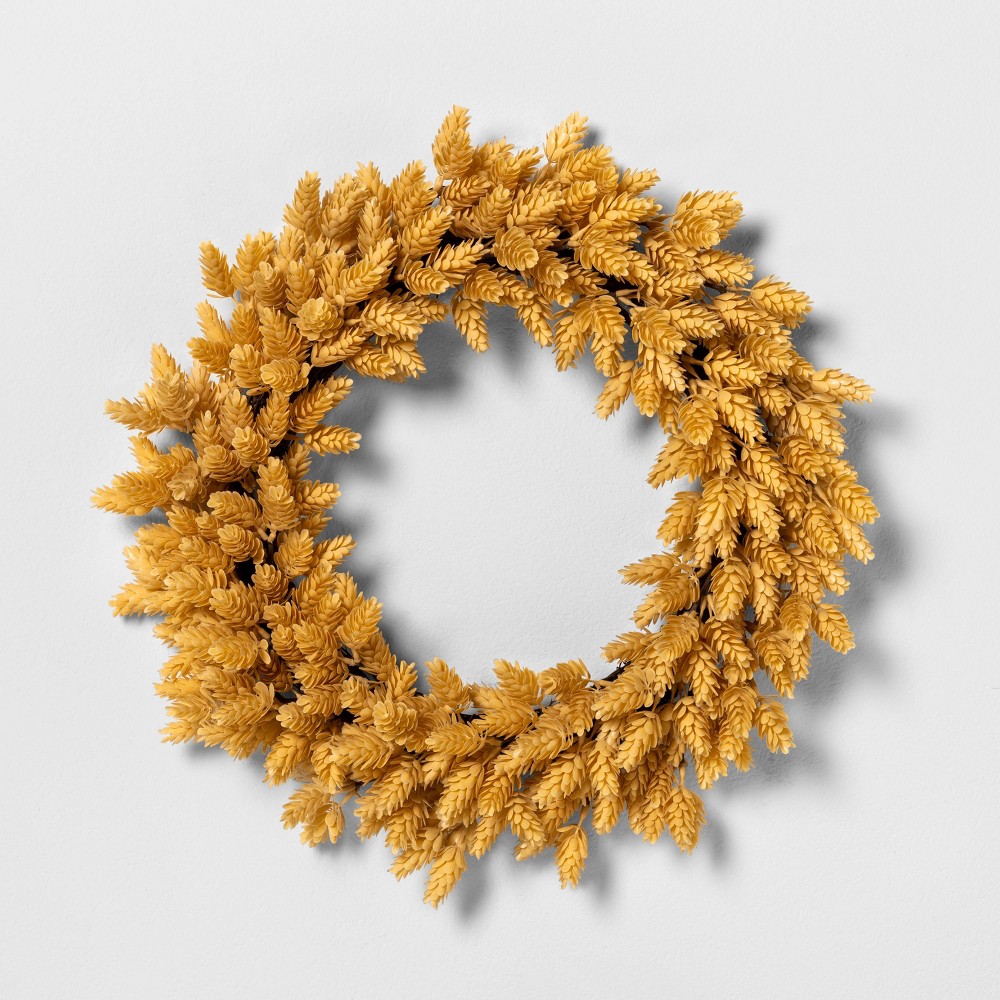
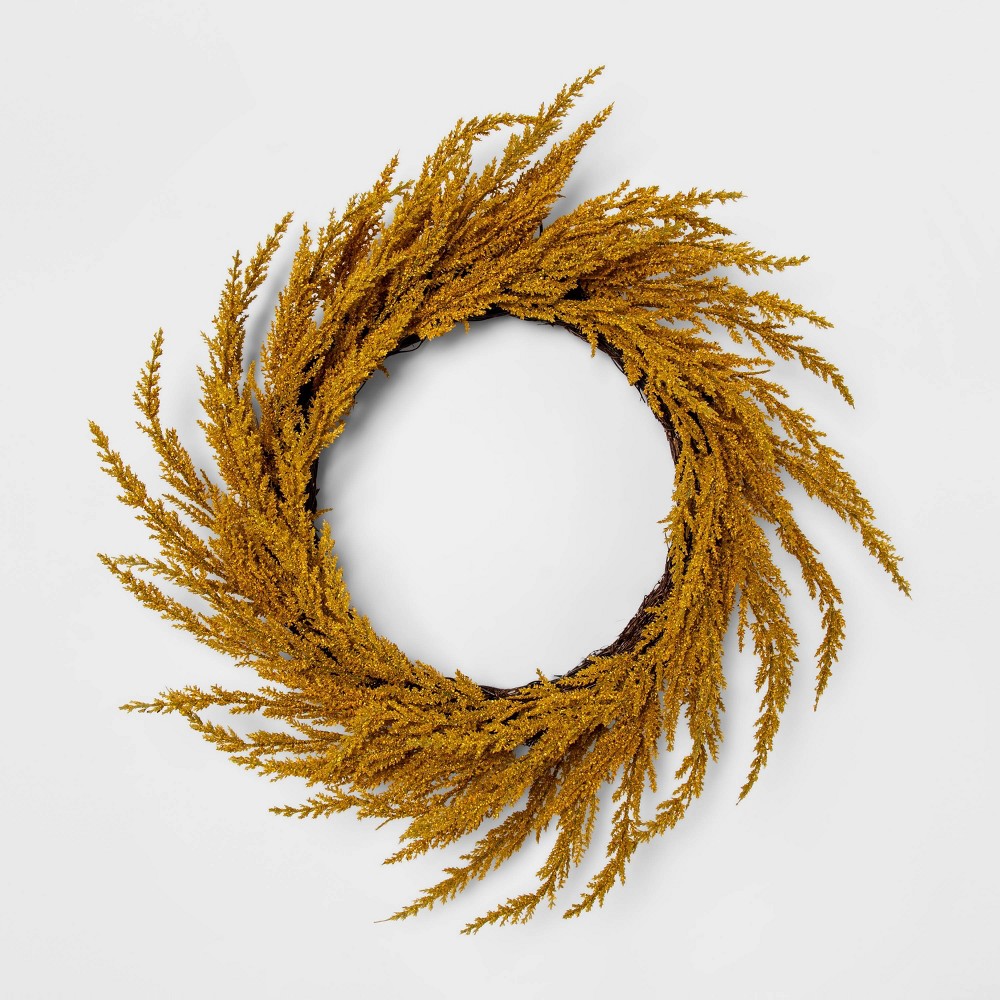
I found this one from Target and loved the muted yellow color. Perfect for harvest time! I will admit though, I felt like it looked a little too “faux” for my liking. I wanted to bring my own flare to it to make it look like the real deal!
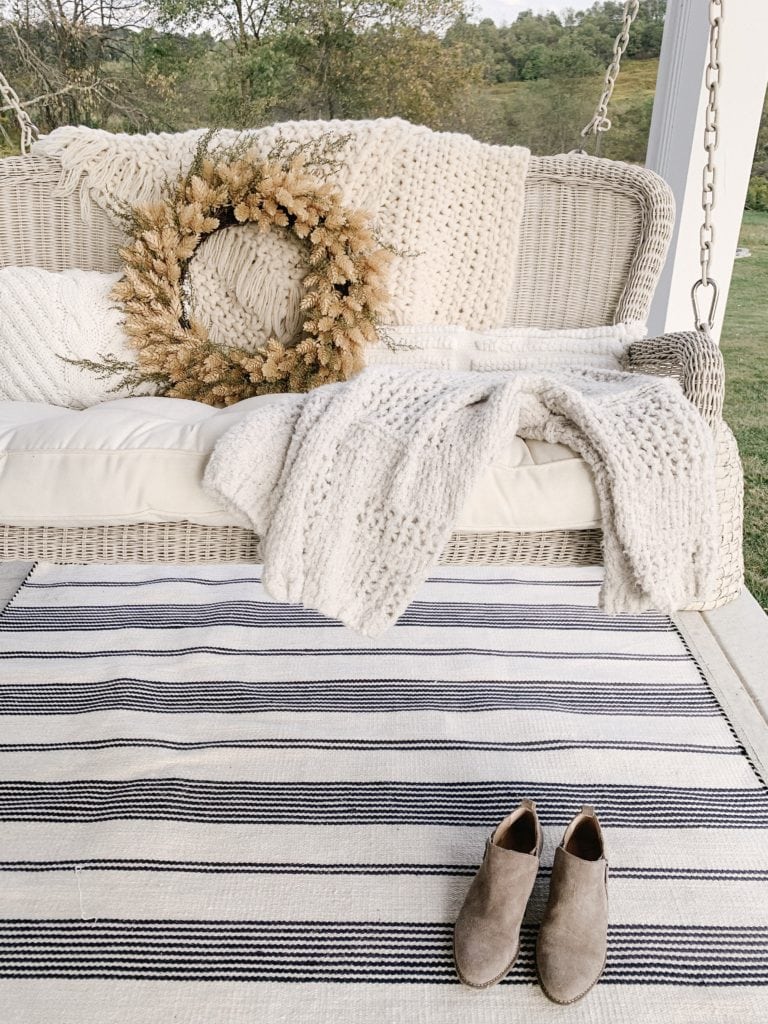
This past weekend, I picked up some dried Sweet Annie. Not only does this stuff smell like heaven but it also has mini yellow buds that compliment my faux wreath. I decided to place a few of these stems into the wreath to give it a more whimsical vibe and…I’m in love.
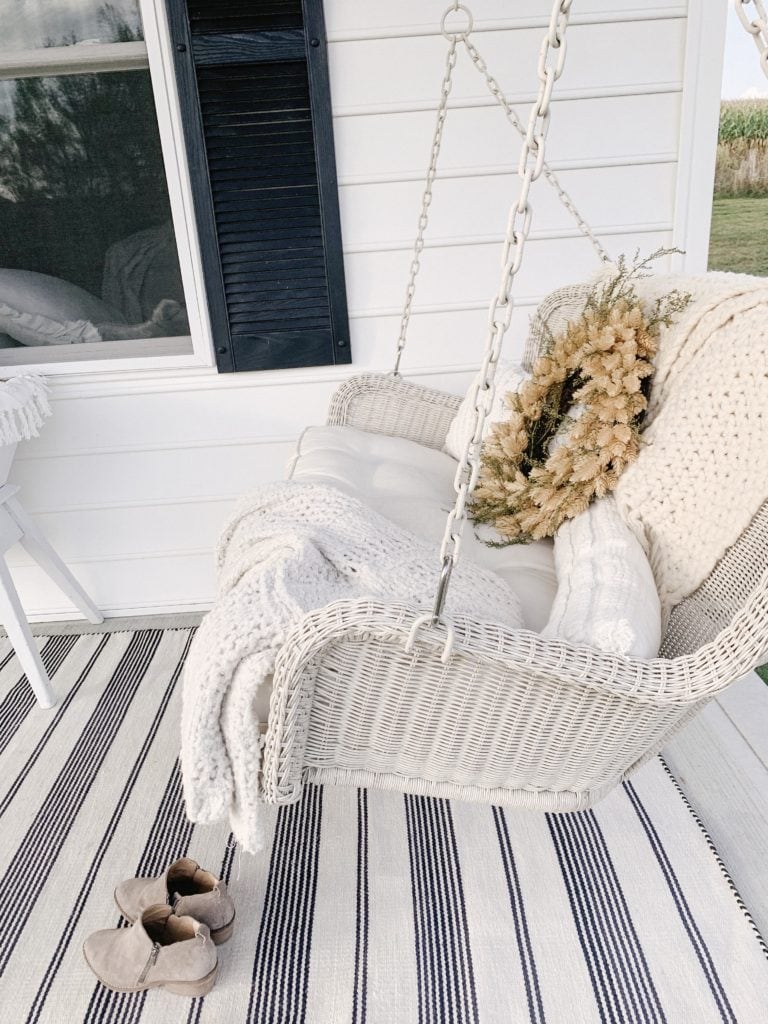
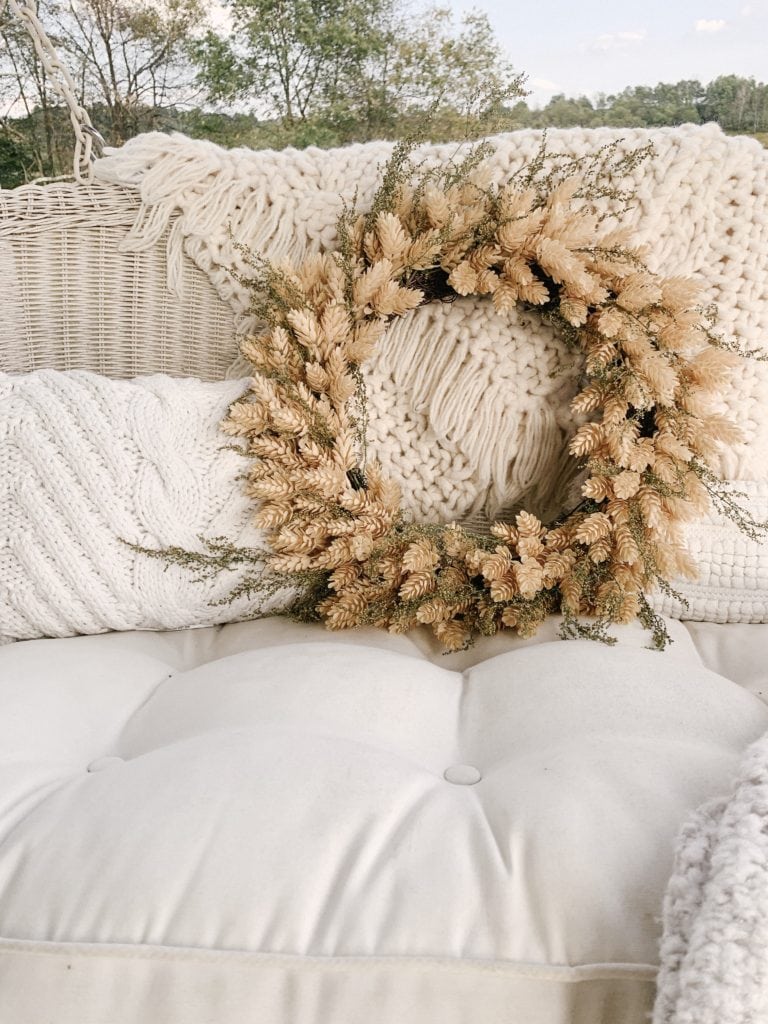
If you try to add real greenery/stems to your faux wreath, be sure to add the stems in the same direction as the wreath is already flowing. You can see this one flows in a clockwise direction, so I made sure to make my Sweet Annie went the same way.
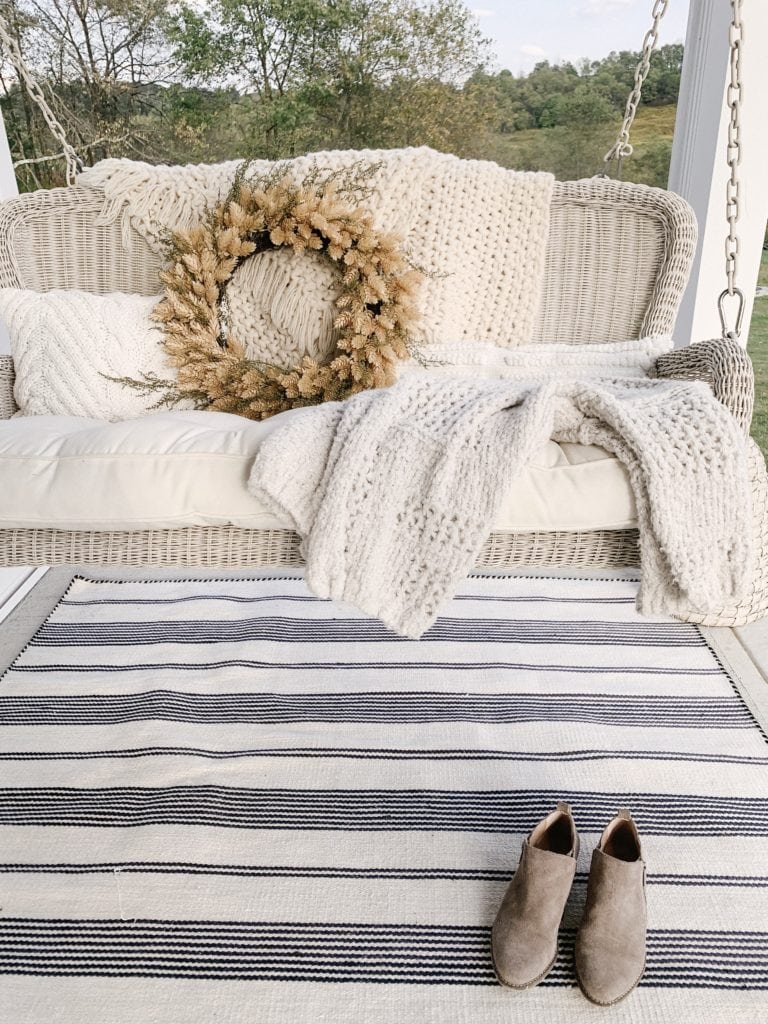
This was such a quick an easy update because I used zero tools/wire etc. I just tucked the stems into the wire that was already existing on the faux wreath to be sure they’d stay in place. There was no real rhyme or reason to my placement, by the way. I mostly just visually placed a bit of the Sweet Annie where I felt like it needed it.
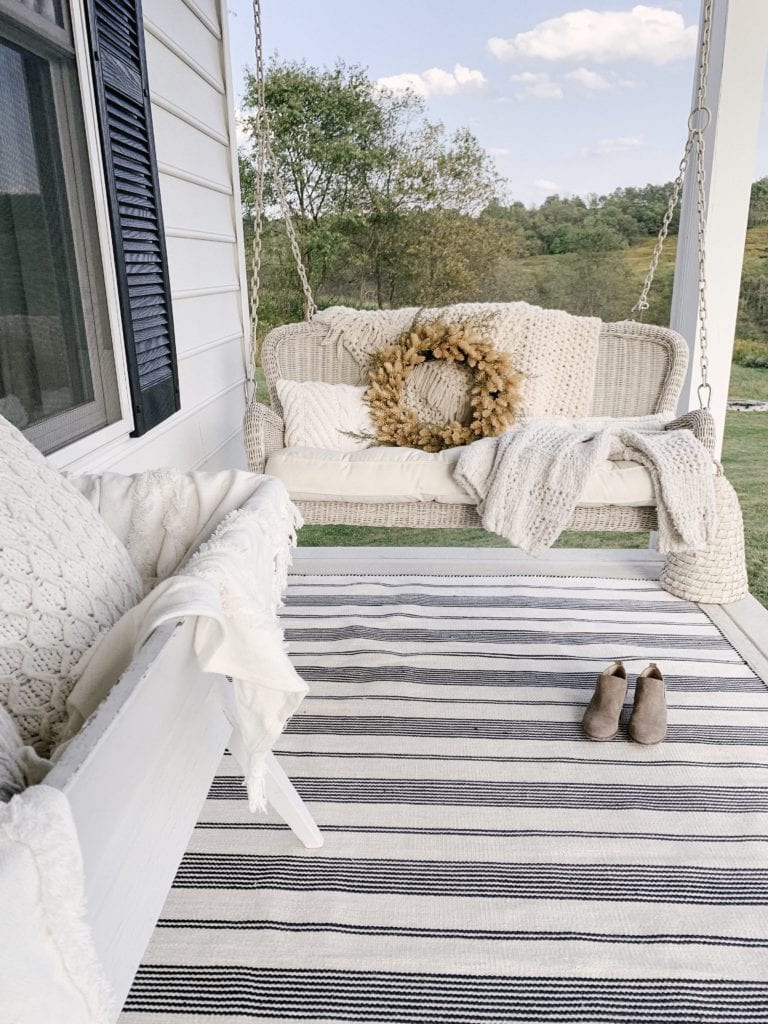
I love how adding this little bit of greenery created a much more “un-done” and messy look. I’m not one for a whole lot of structure. I like things to look a bit disheveled, anyways!
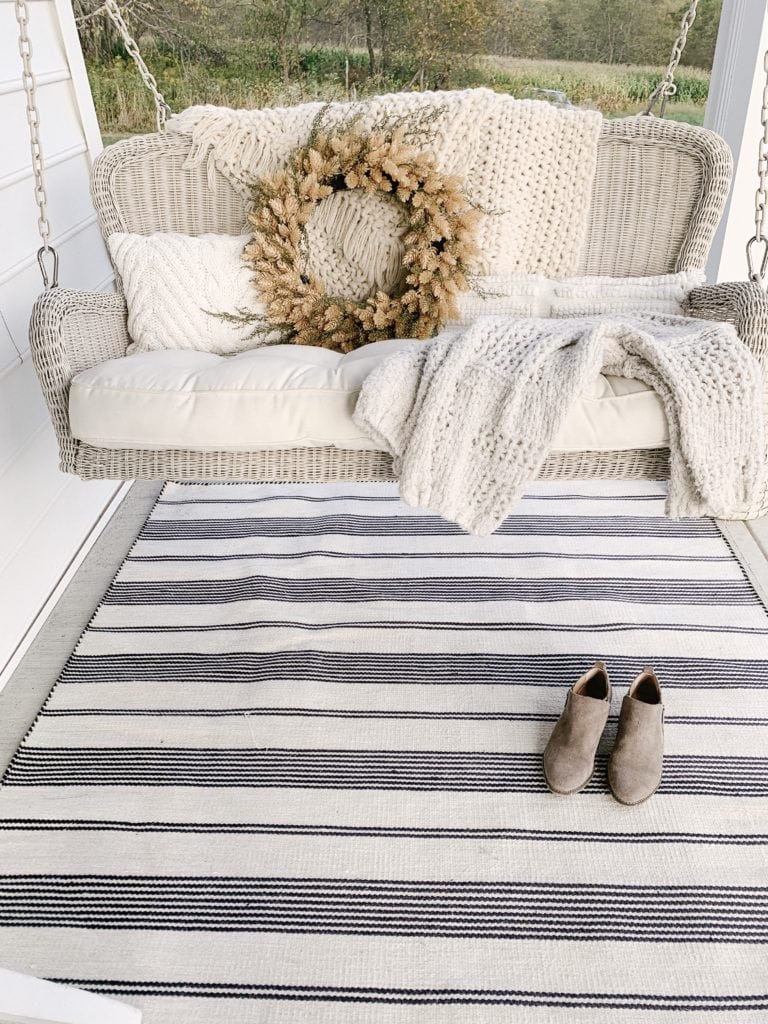
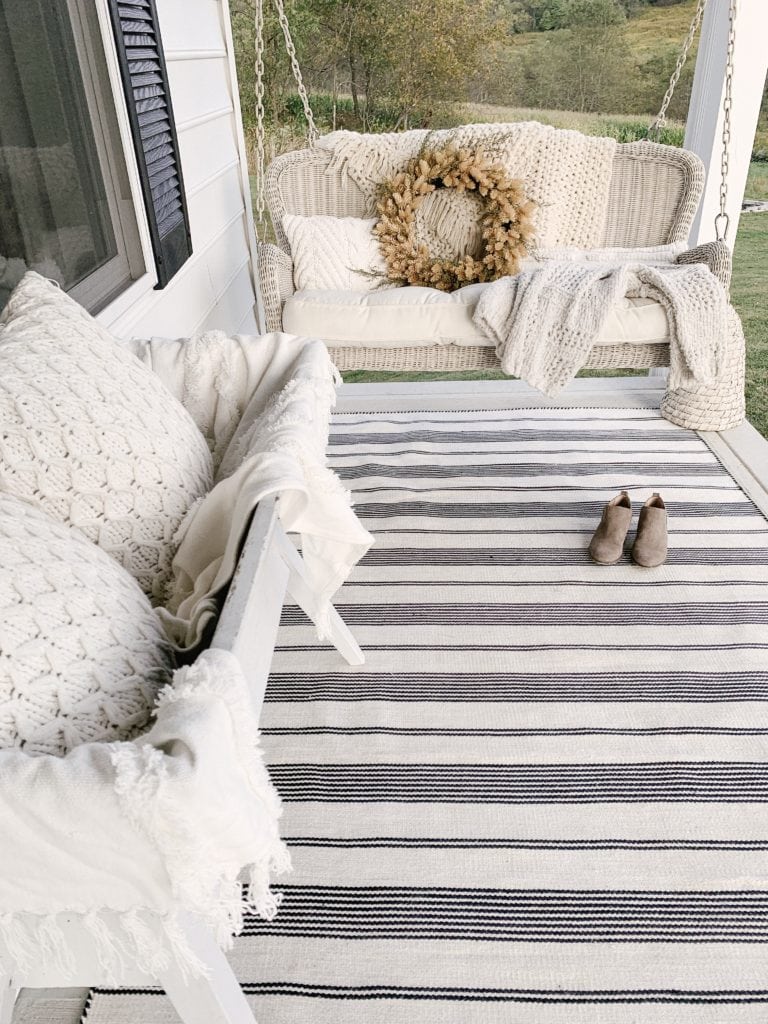
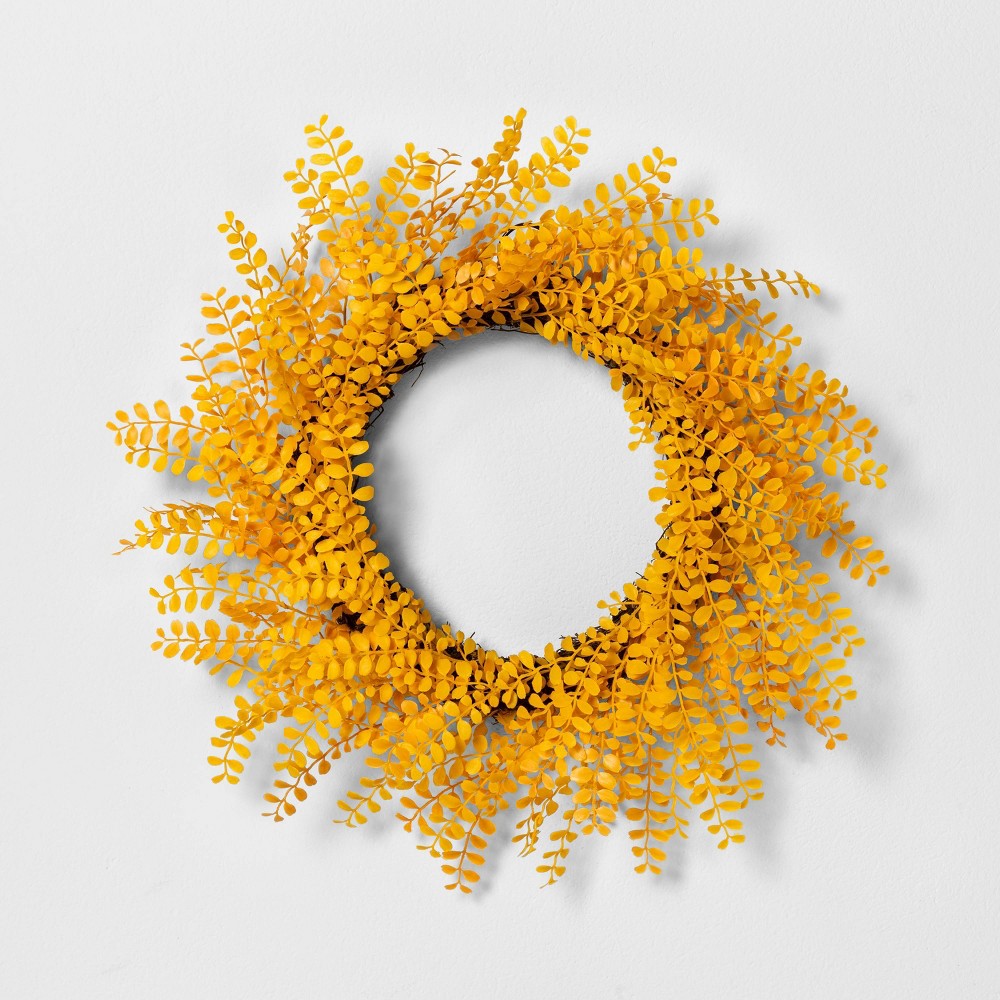
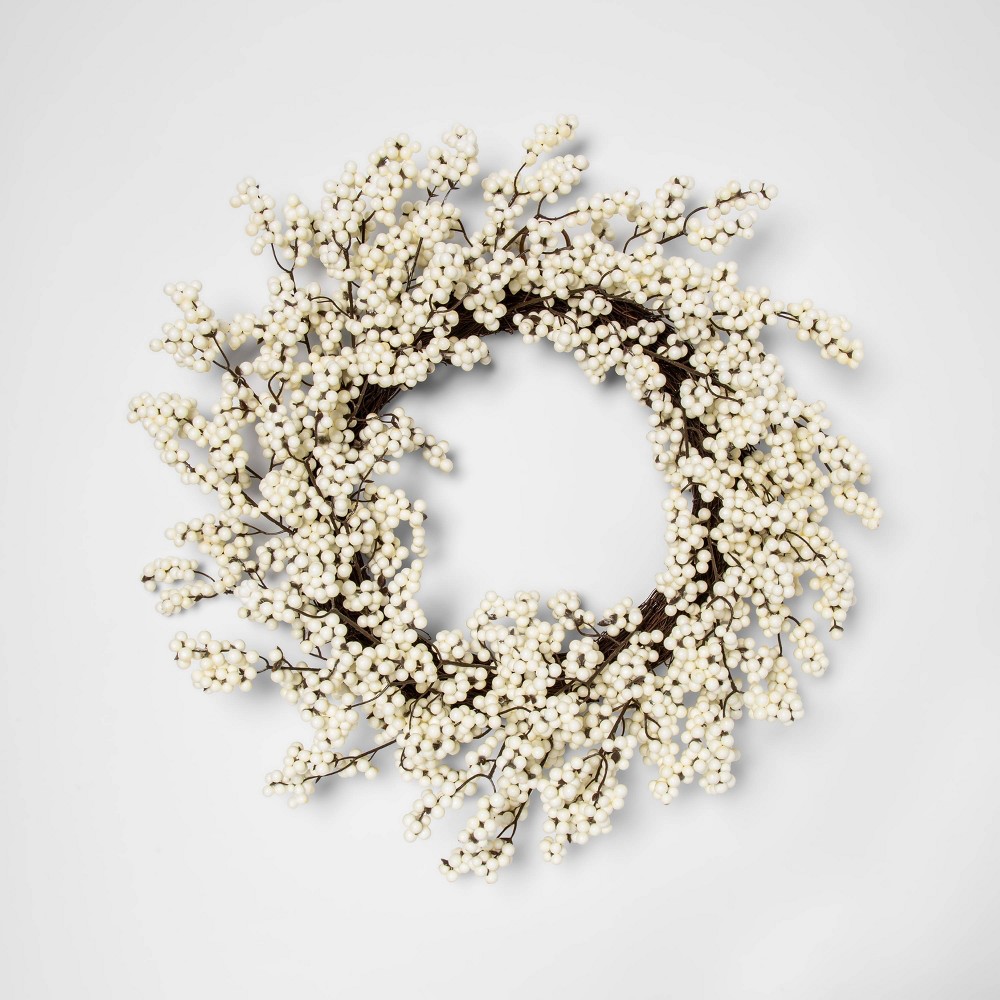
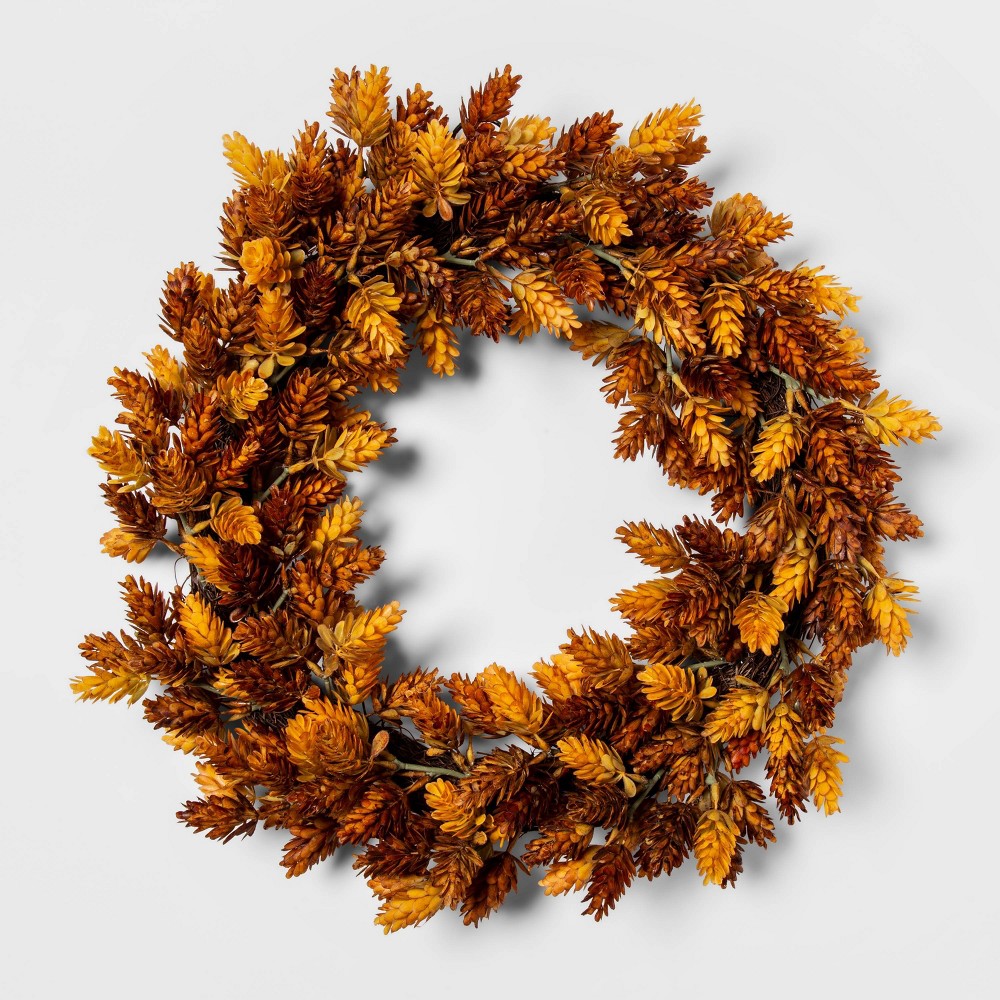
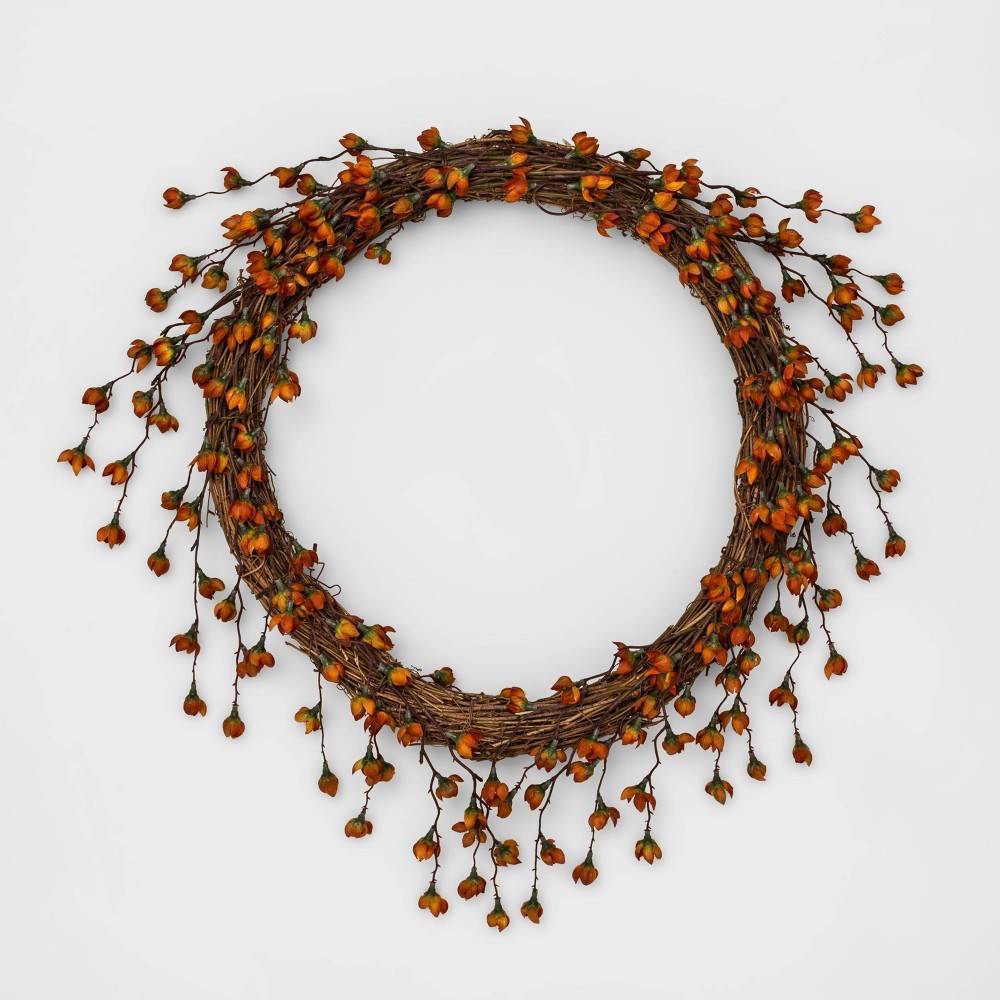
This technique could be used on any faux wreath/arrangement you have. I went ahead and tagged my faux wreath and a few others that I’m loving right now, below.
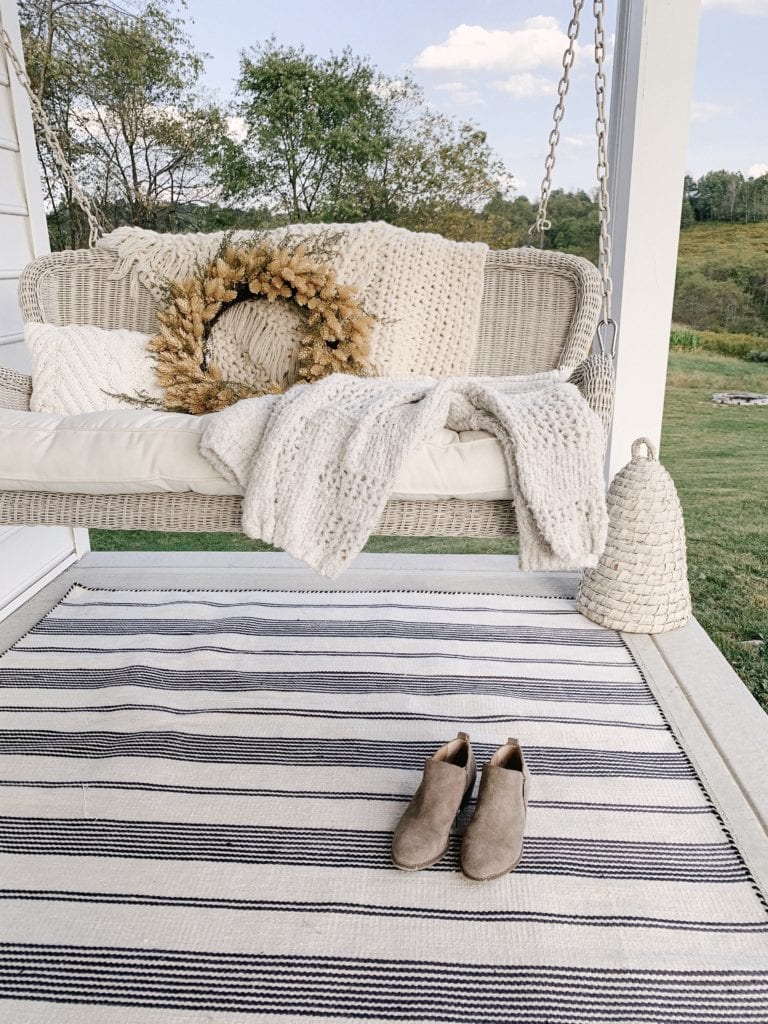
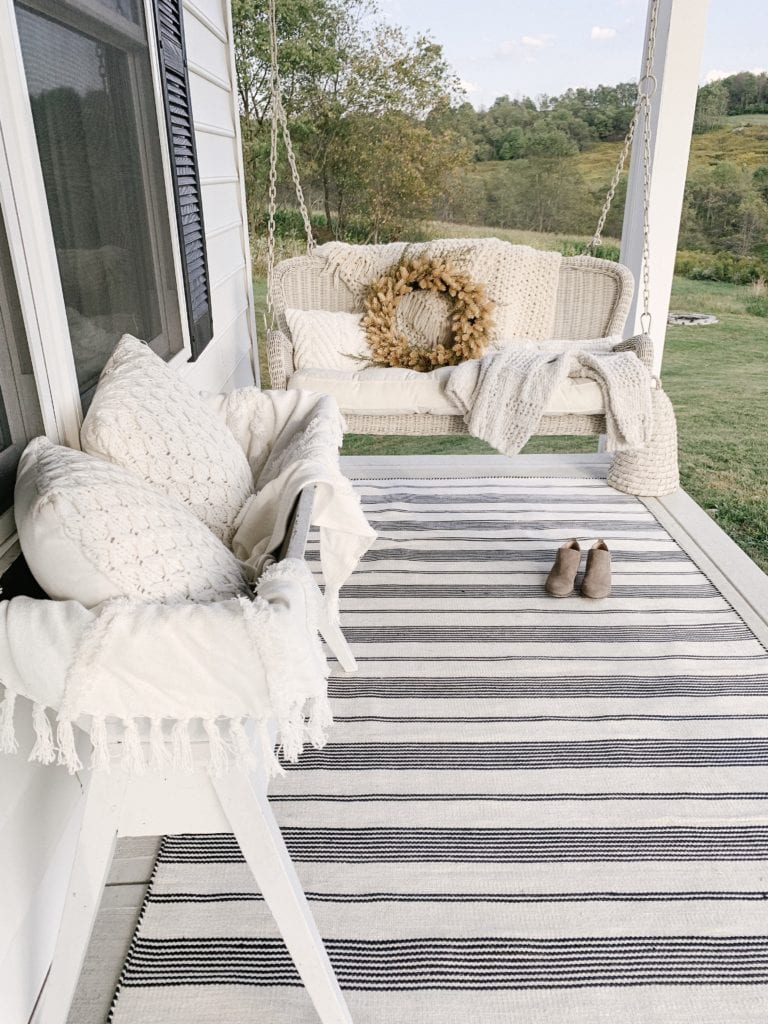
I had so much fun putting together this mini DIY. So simple and took me under 5 minutes to create. Thanks so much for checking out the blog today and reading how to make faux wreaths look realistic. If you decide to try this method, be sure to tag me in your photos on Facebook or Instagram. I’d love to see!
xo,
sarah jane

Mission accomplished! Love your added touches to the wreath. Your porch is wonderful and cozy, and that view behind is divine! What a beautiful place to live.
Thank you so very much! We are lucky to live here, no doubt