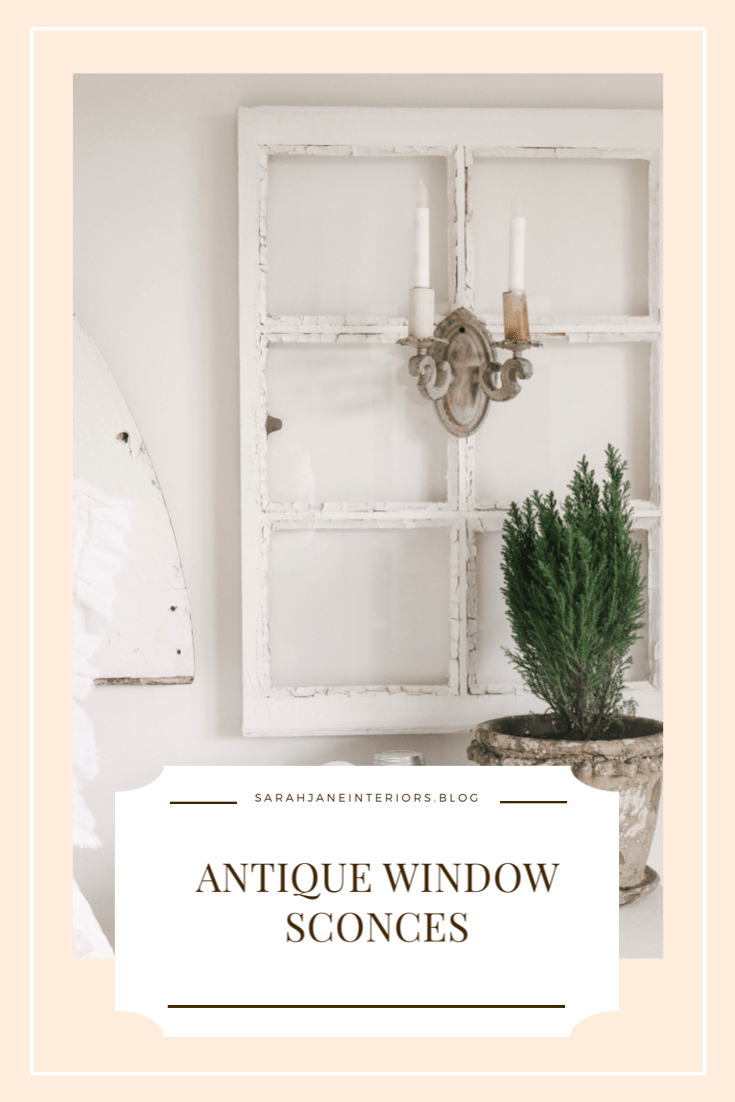
I realllly didn’t mean to leave you all hanging with this project. I shared the process on my Instagram stories this past week and was waiting to share how they looked for a full blog post in case this is something you want to try for yourself!
While Eli and I were on Christmas vacation last week, we really wanted to relax and enjoy some time together. One thing that I really wanted to do on this time off? Go to an antique mall. I can’t believe that I’ve never been to one until last week……crazy right?!
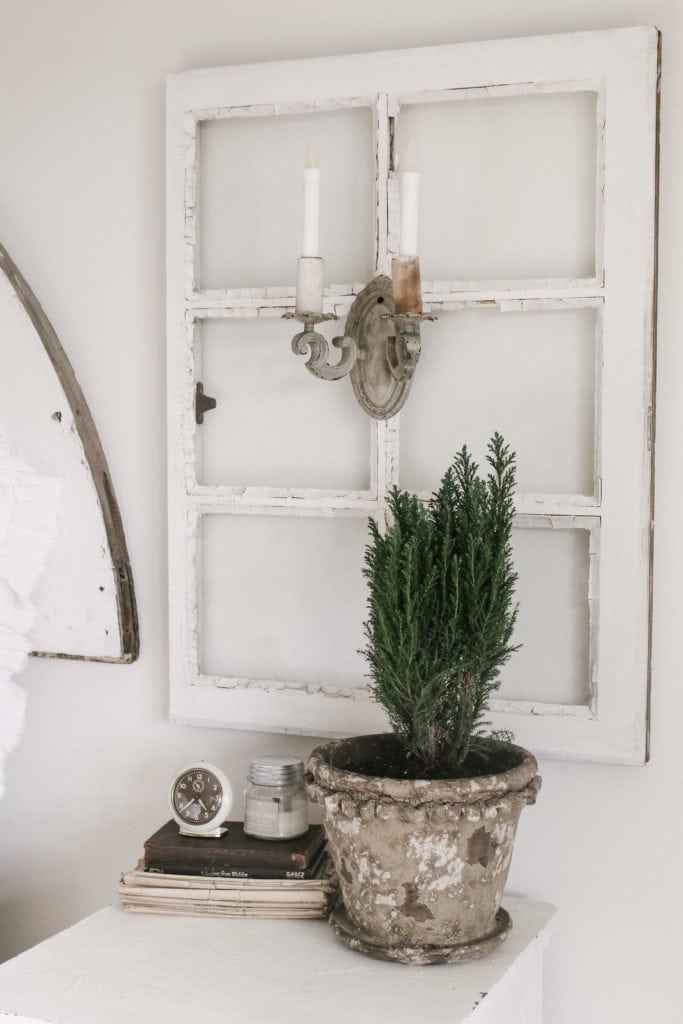
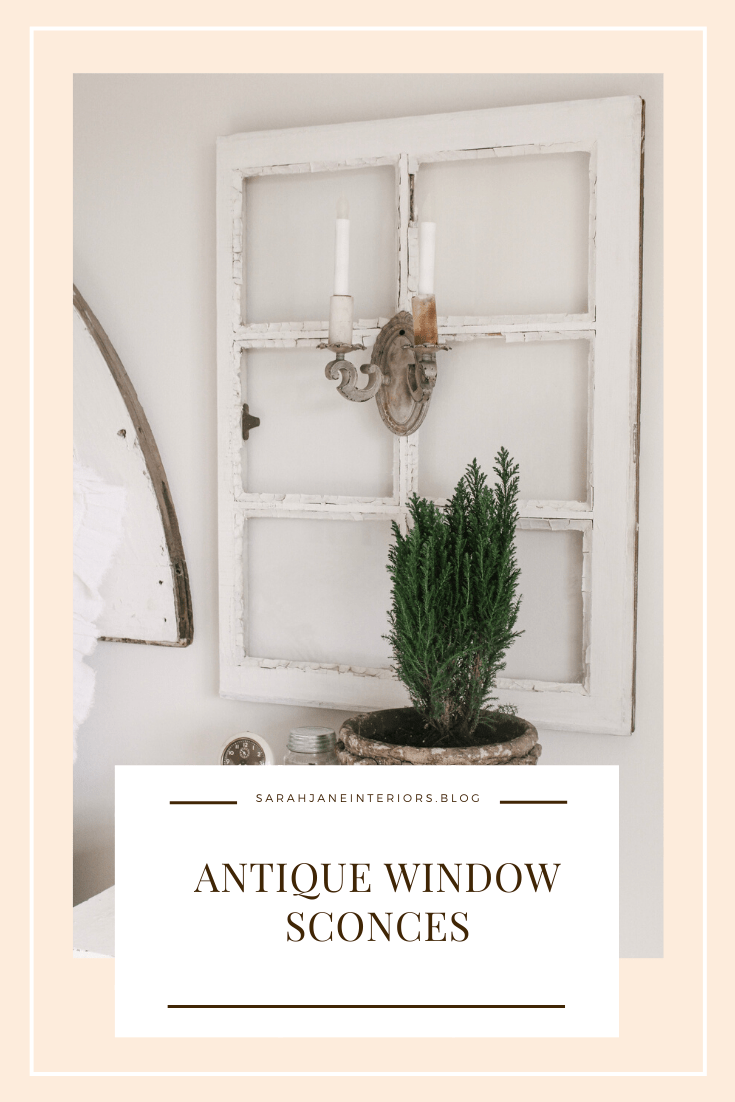
We made a little road trip out of it and I found a few goodies that I knew would fit into our home perfectly. These two windows and antique scones, yeah, those were a few of them. There’s just something about old chippy windows (with the glass still in tact) that I love so much. The glass opens up a space and there are so many ways to use old windows in your home. But then these sconces….love. at. first. sight. I picked them up instantly thinking that they would have been a fortune and surprisingly, they were reasonably priced. I latched onto these cuties and started brainstorming how I could use them in our home.
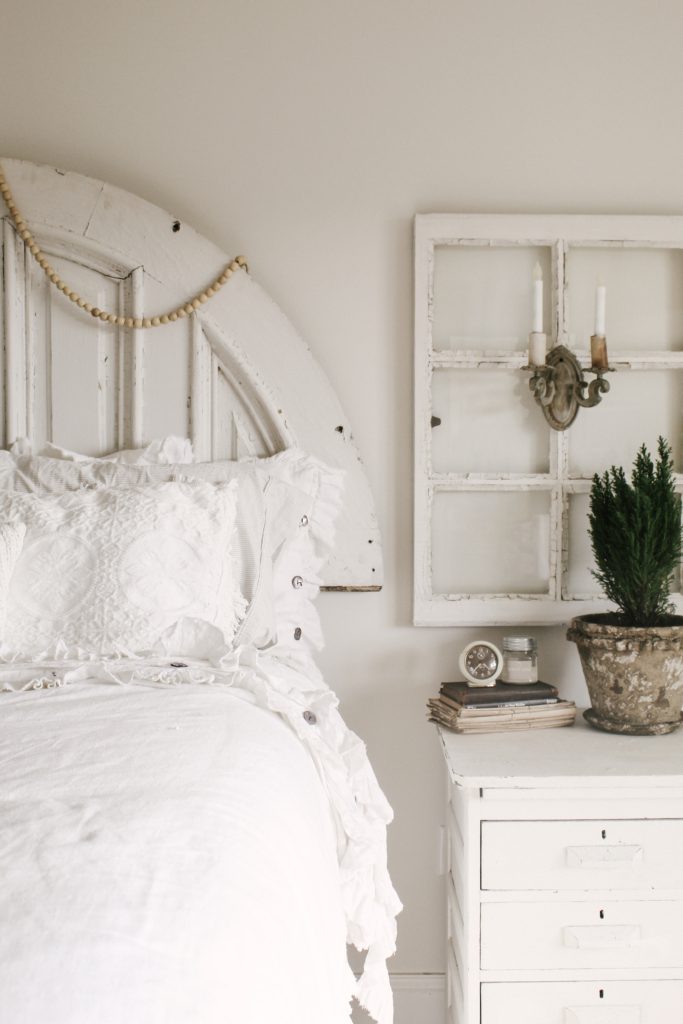
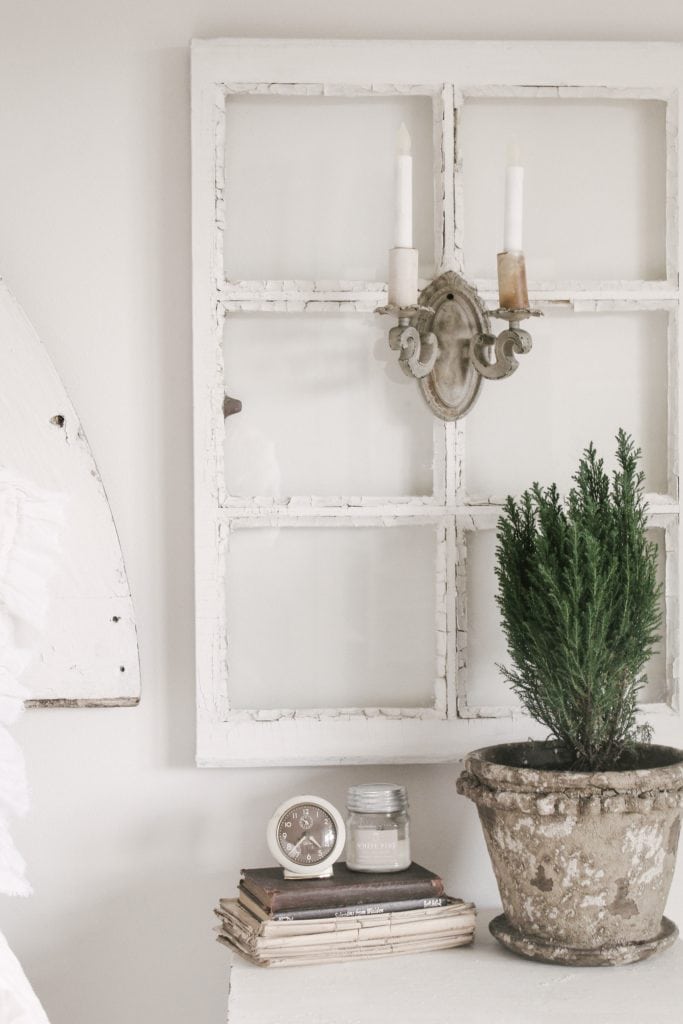
Since the sconces were not wired or in working condition, I had to get somewhat creative. I decided to order some battery operated candlesticks from Amazon and simply taped them into the spot where a typical lightbulb would go. No hardwiring and minimal effort, my kinda project!
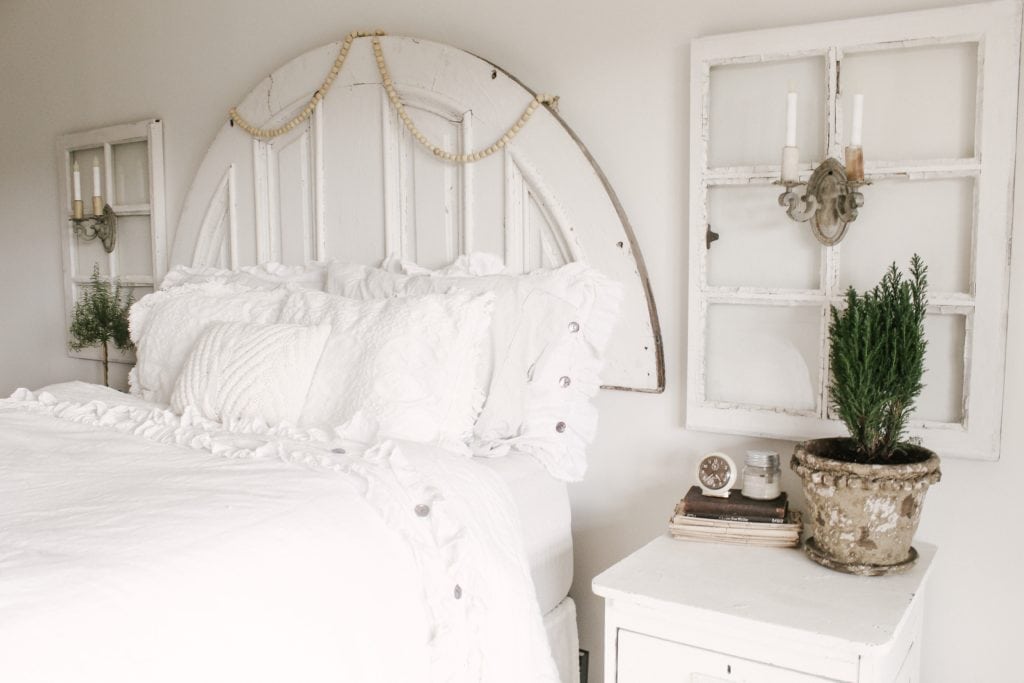
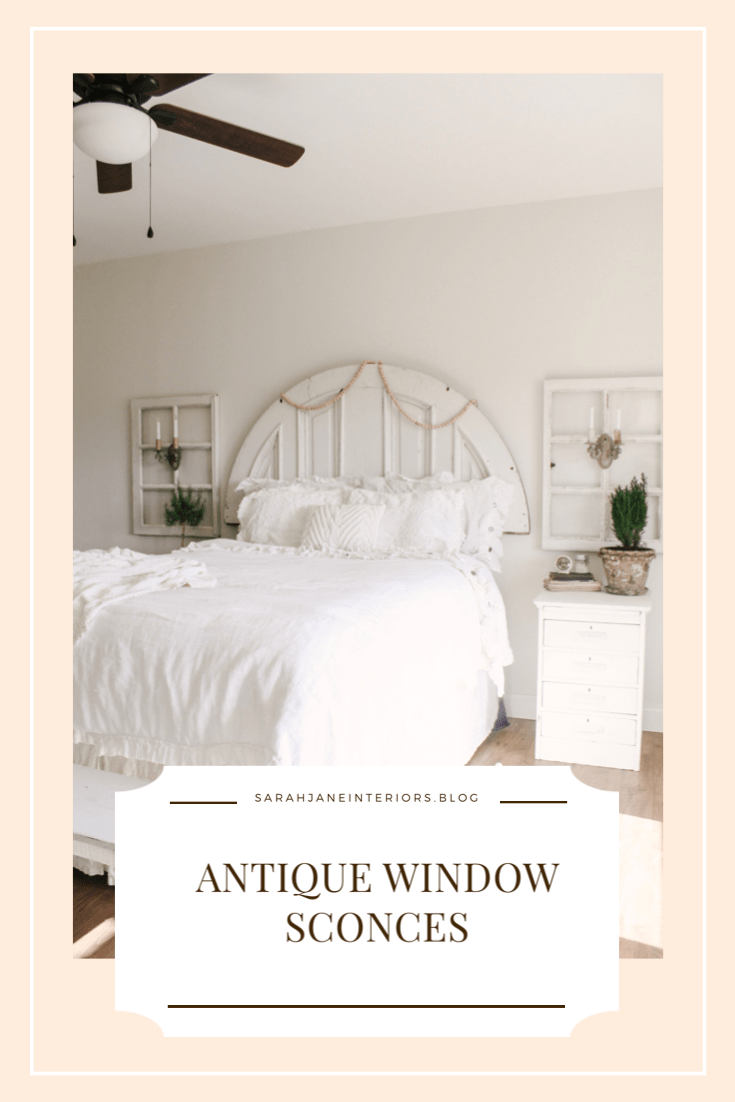
Then in typical Sarah fashion I was walking around my house trying to decide were to hang these little cuties up. They looked like they brought a romantic feel so I felt like the bedroom would be gorgeous. I held them up on our wall above our nightstands and they looked a little to small for the space. Then I had one of those epiphany moments…you know the kind where your heart starts racing and you feel like you just invented the telephone? Just me? Ok.
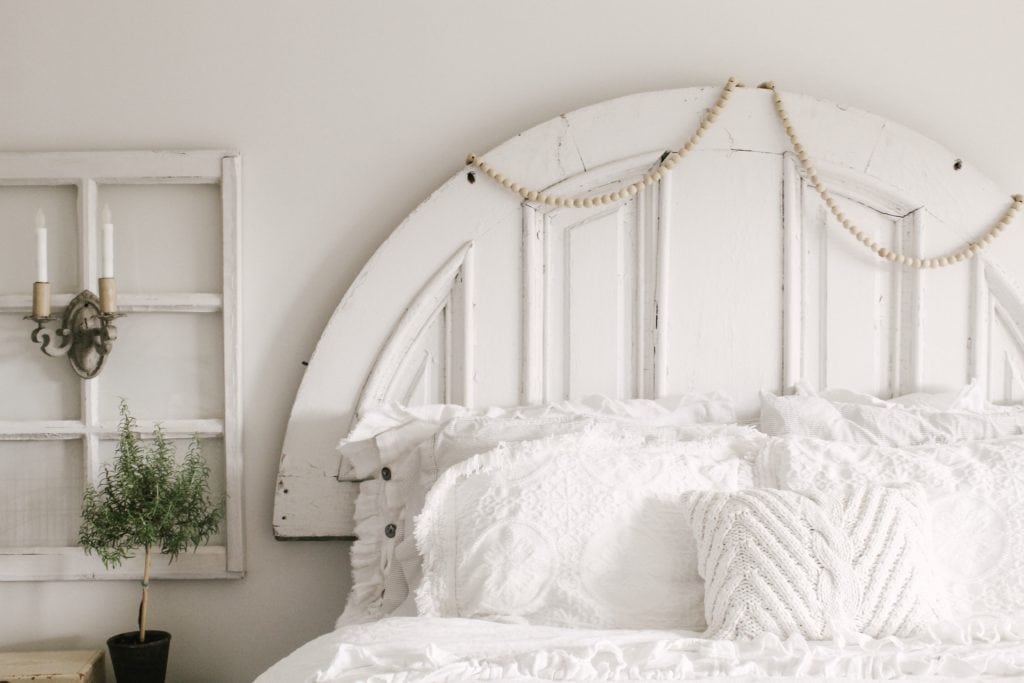
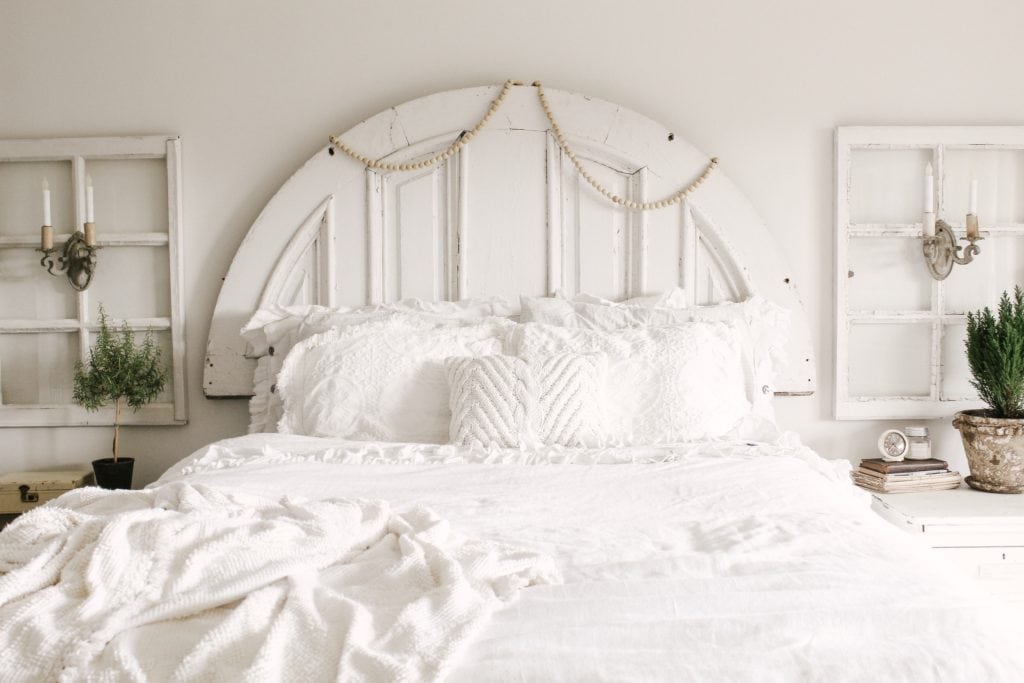
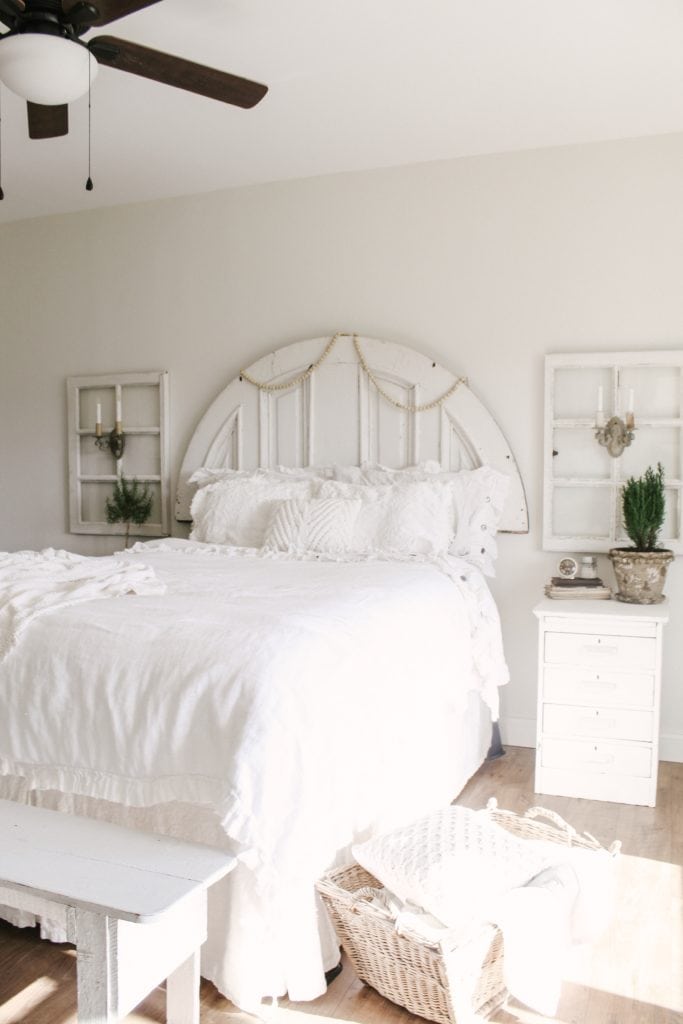
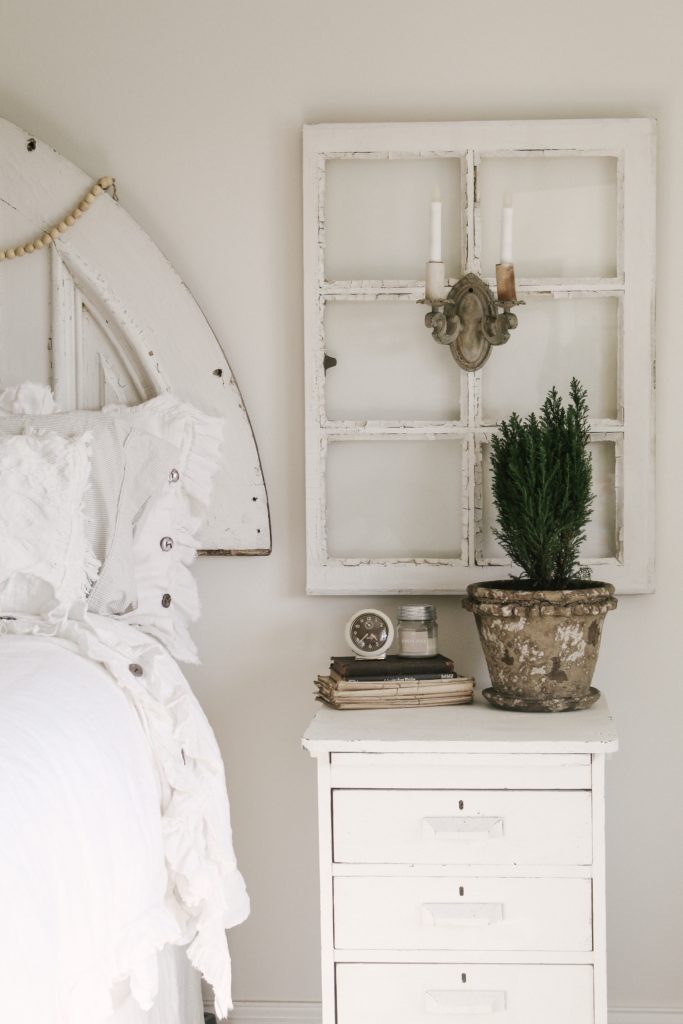
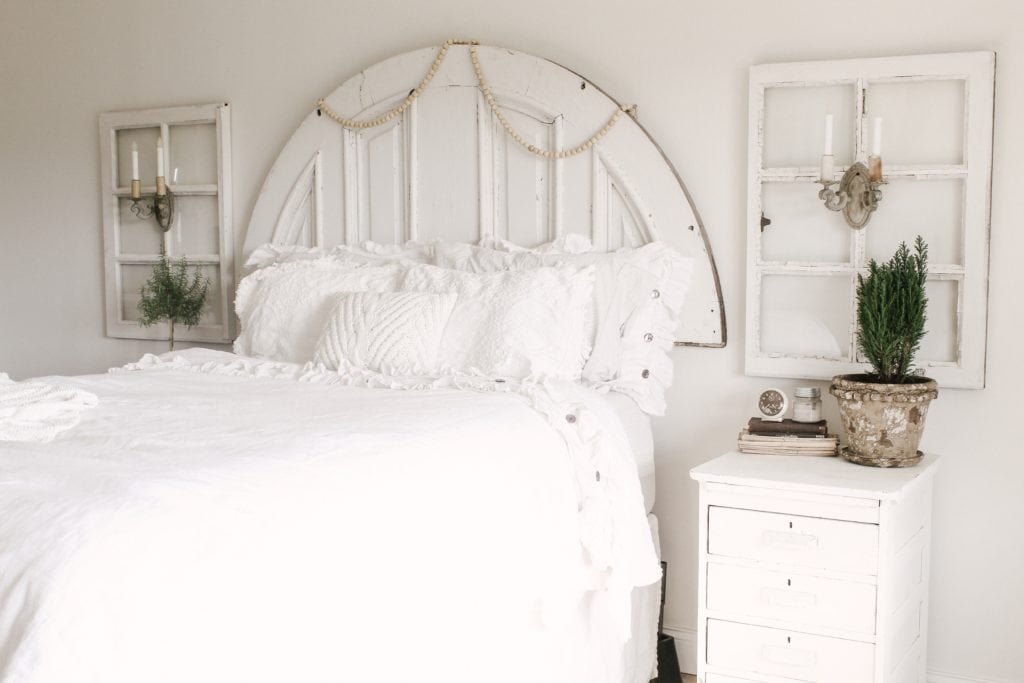
I decided to hang the windows above our nightstands and attach the sconces to the windows themselves. I was obsessed. With a little milk paint (Miss Mustard Seed, “Farmhouse White”) and the help of a very willing husband, we were able to hang these this past weekend. I must say, this is one of my favorite projects to date!
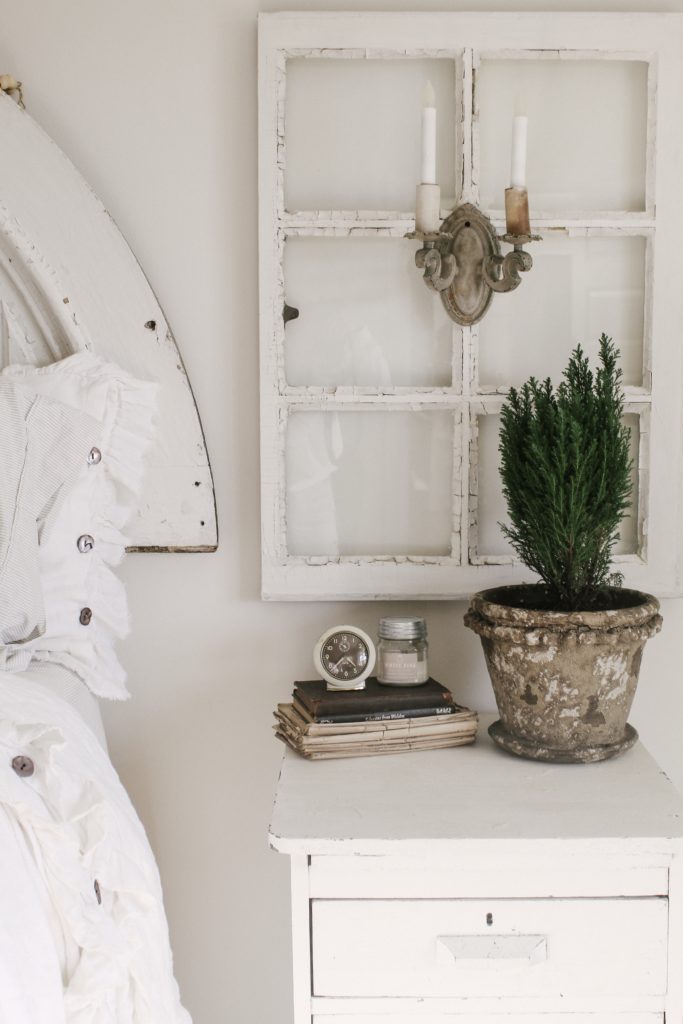
For the technicalities: We attached d-hooks to the back of the windows and hung them on our wall using two screws. To attach the sconces to the window we simply used a drywall screw on the “wooden” part of the window frame. That’s it!
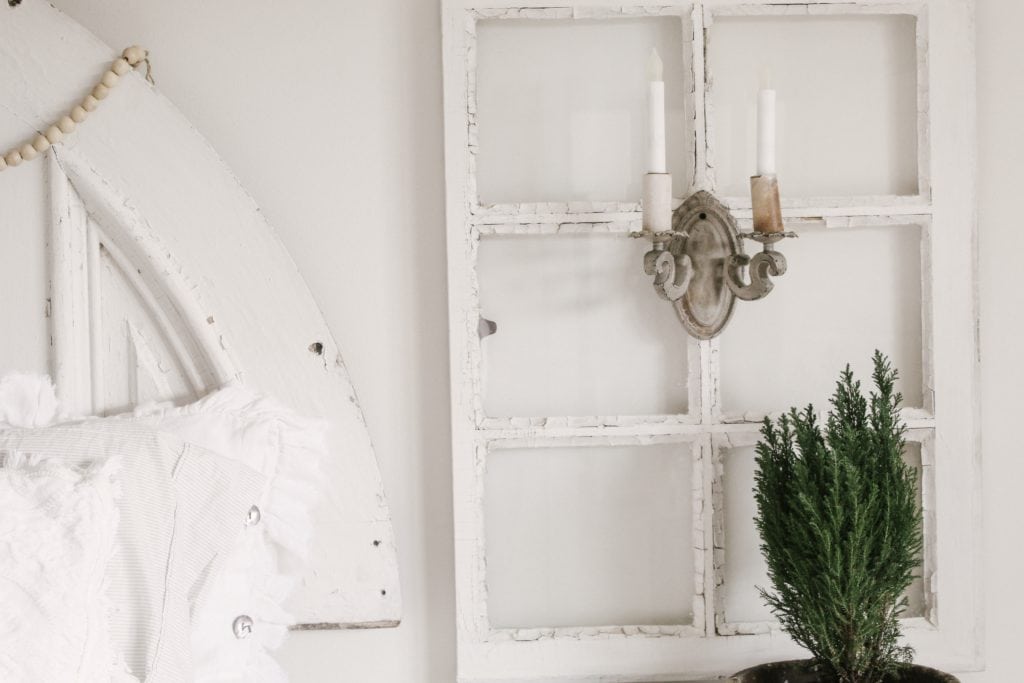
The sconces and windows just look like the belong next to our headboard and now our bedroom is finally starting to take shape. I must’ve stood in our bedroom and “ooo’d and awe’d” for a solid ten minutes because this room is becoming my dream bedroom. It’s my style and original and that’s really what I want our home to emulate.
I hope that this inspires you to create spaces in your home with pieces you truly love. Thinking of unquie ways to use pieces in your home is what can give your home that “charm”. A window doesn’t need to be used for a window and a sconce doesn’t need to be in working order to serve a purpose. Love you guys, and thanks for stopping by the blog today!
xo,
sarah jane
Leave a Reply